Demotivational Posters with GIMP
Introduction
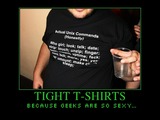
Having a lot of unplanned free time time on my hands and bing in exceptionally good spirits and getting my hands of a few useful pictures, I decided it is the time (wow! almost a year passed!) to write yet another graphic tutorial, this time about creating a demotivational poster with GIMP.Something like this:
The poster
The choice was to make it with GIMP or Inkscape... in Inkscape it would be a bit easier but the image quality may be slightly lower if the imported JPEG will get automatically anti-aliased, so my choice was to go with GIMP, which probably has a lot more users. If there is enough interest, I may revisit it at a later time with an Inkscape recipe.
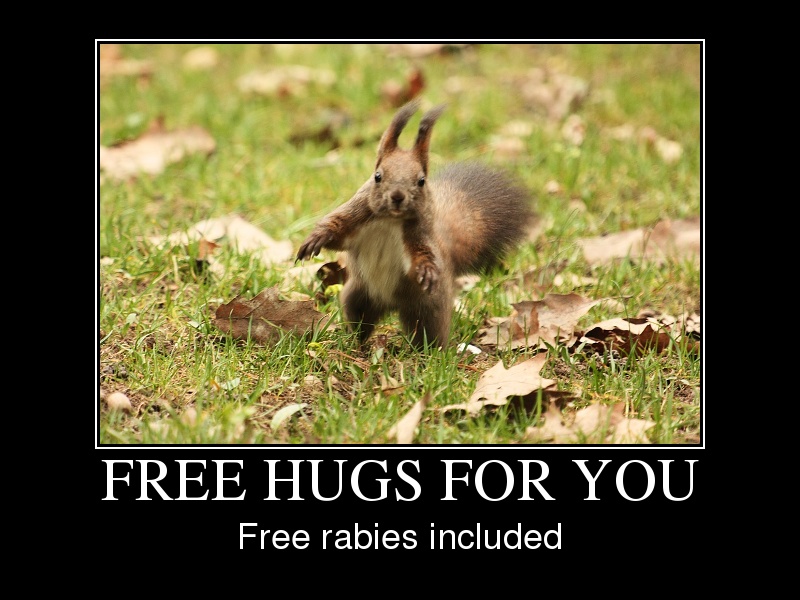
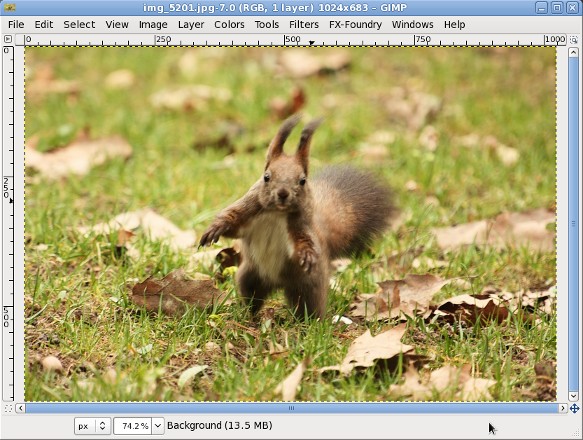
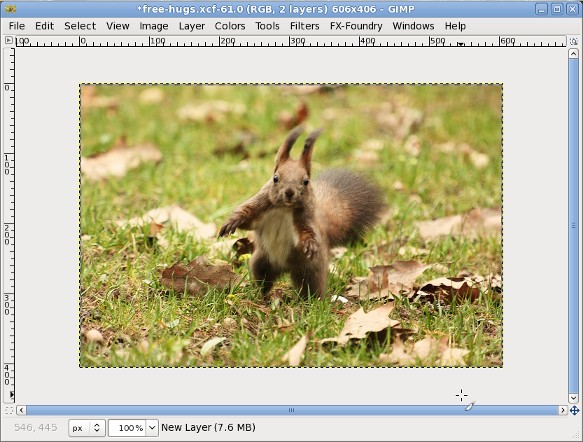
As the first element, and one of the hardest and most important, is to find a suitable photo: it has to be funny or have potential to receive a funny demotivational statement. To respect the intellectual property of others and the law, use either one of your pictures (prefered) or something freely licensed. I used a squirrel photo I made last week-end in the park:
Start by choosing the right framing for the photo, mine was not bad and would have worked without cropping, but I included this step for informational purpose. If your camera has a weird aspect ratio (most compact and mobile phones so), set a fixed aspect ratio, which is 9:6 for a dSLR and is what most motivational posters out in the wild are using:

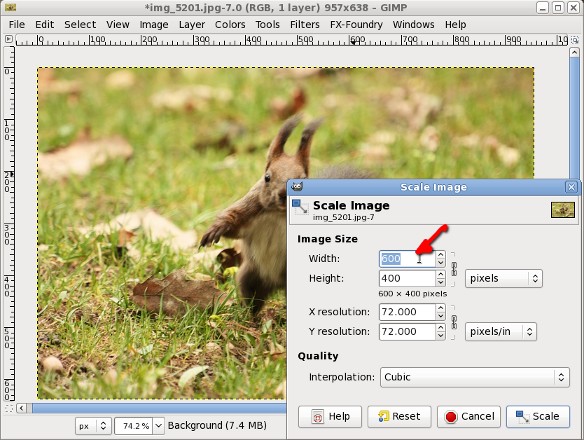
Then you will want to scale the image (Image > Scale Image), I made the photo 600x400 px to be displayed on-screen, for a printed poster you will need something much larger (to fit an A4 paper printed at at least 150DPI):
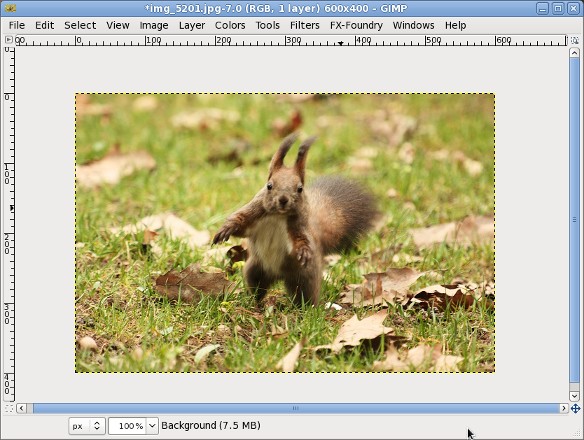
This is the last chance to improve the image: sharpening, color adjustment and such, if the photo needs that, do it now:
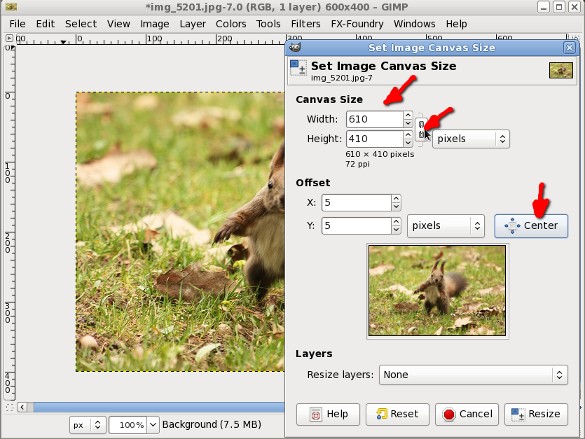
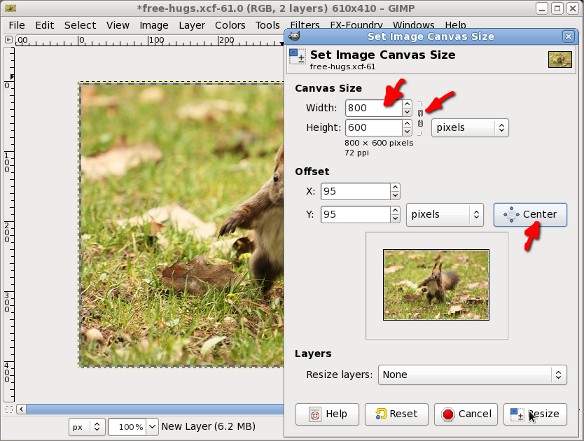
To make room for the image border will increase the canvas size (Image > Canvas Size): I unlinked the height and width to be able to increase each with 10 pixels, and arrange the image to the center of the canvas:
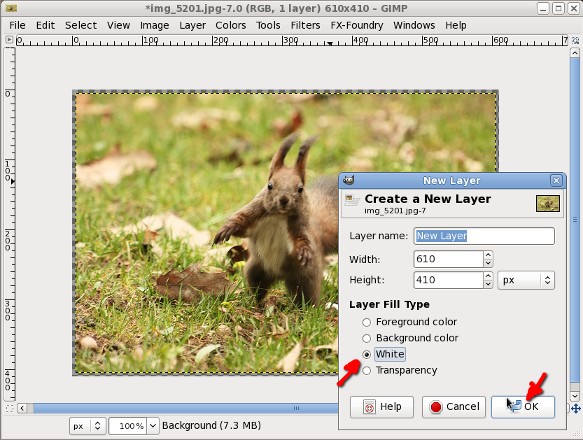
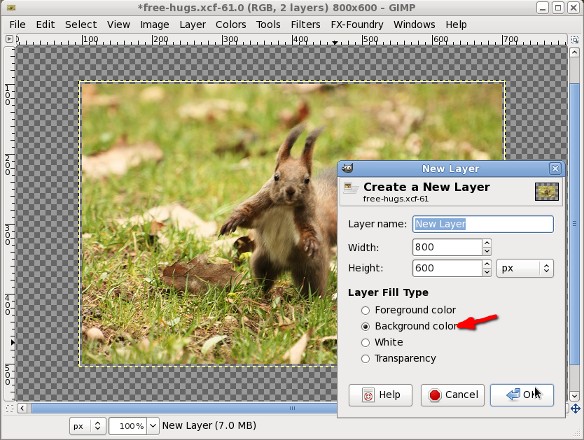
Then add a new layer (Layer > New Layer) and fill it with white, the border is going to be white:
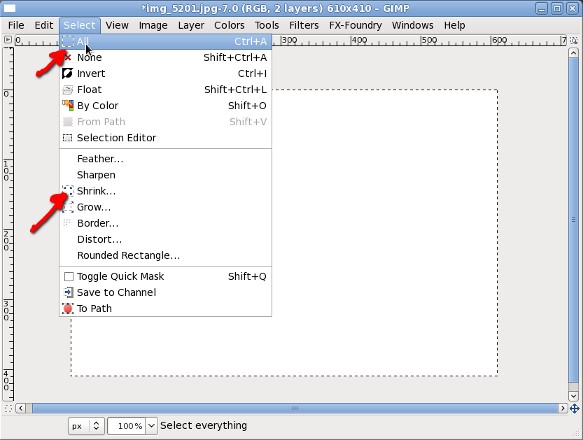
Select the entire white layer (Select > All) and then shrink (Select > Shrink) the selection:
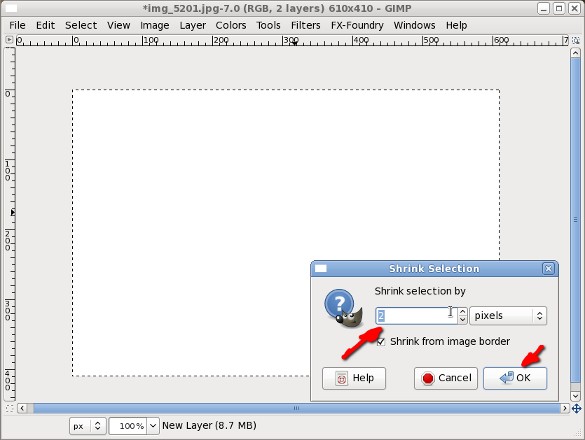
We want the border thin but not too thin, so will shrink by 2 pixels:
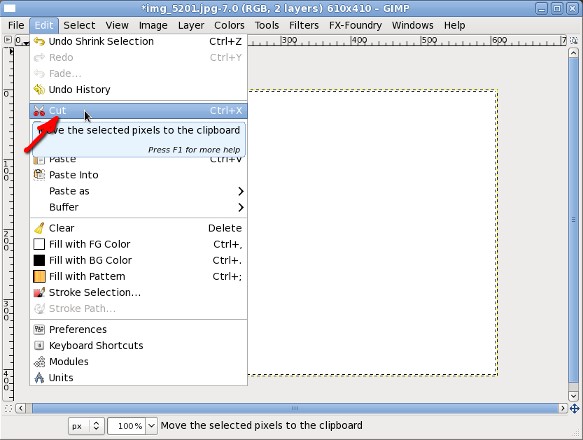
Then cut (Edit > Cut) the selection:
And we have a bordered image:
We are increasing the canvas size again, this time to 800x600 px, the target for our screen-oriented final image (again unlinking height and width and aligning to the center):
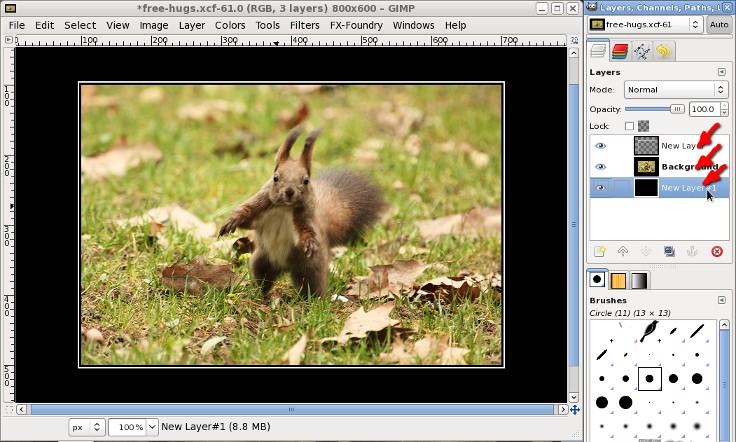
Add a new layer and make it black (the fastest way is to have black as the background color and create the new layer pre-filled with the background color, but you can use the fill tool later):
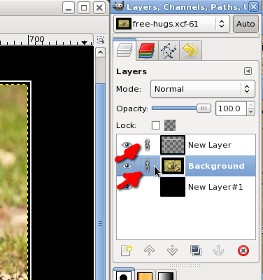
In the Layers Dialog arrange (with drag and drop or with the up/down arrows) the layes in this order: black background at the bottom, photo at the middle and white border at the top:
If we are in the layer dialog, link the photo and border layers, this will make our next step easier:
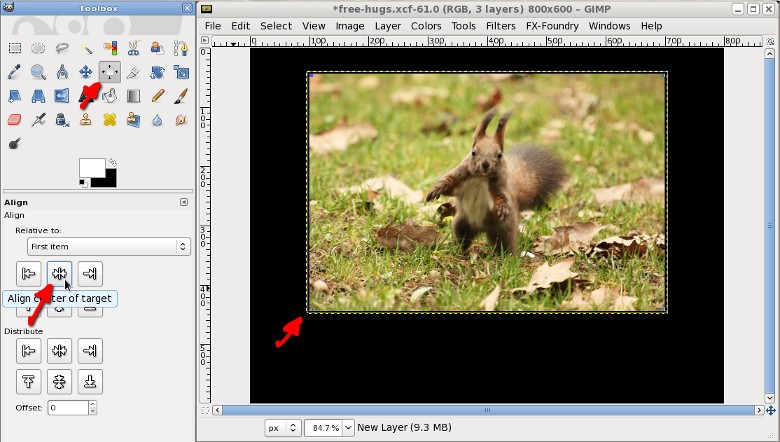
Move the photo and border layers towards the top of the image (if they are linked, one will move automatically after the other), we need to make room at the bottom for some text. When done unlink them:

Select the border layer and using the Alignment Tool, align it horizontally at the center of the image:
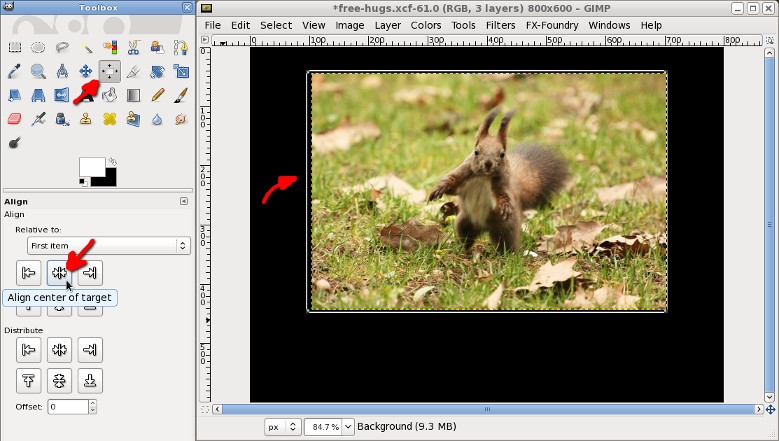
Select the photo layer and using the Alignment Tool, align it horizontally at the center of the image:
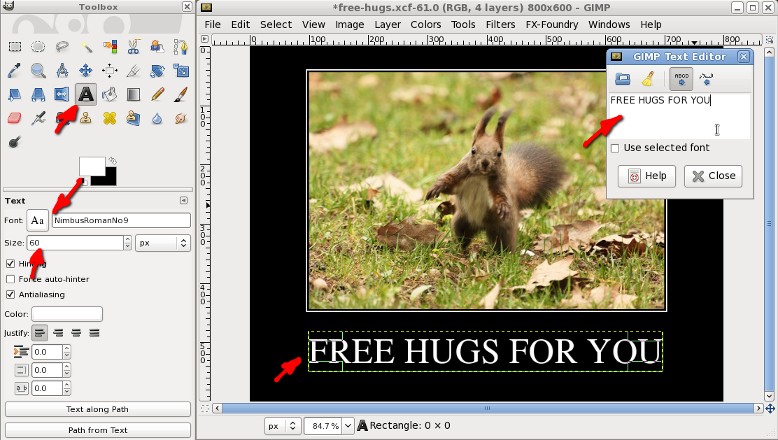
Now with the Text Tool write the title of the poster, the main text, in a big (here I used 60px) Serif font (I used a free font, not liking very much either Deja Vu or Liberation, my choice was Nimbus Roman No9 L, which has a nice shape):
Of course, aligned horizontally to the center with the same Alignment Tool:
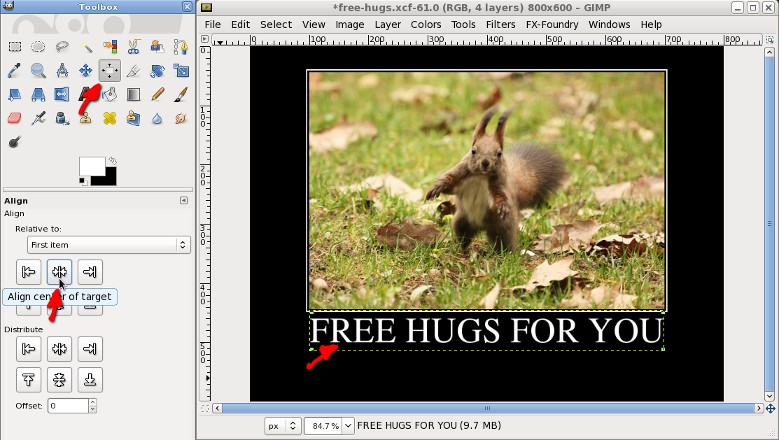
The sub-title is smaller (I used 36px) and in a Sans font (I stayed in the family, with Nimbus Sans L):

Again, aligned horizontally:
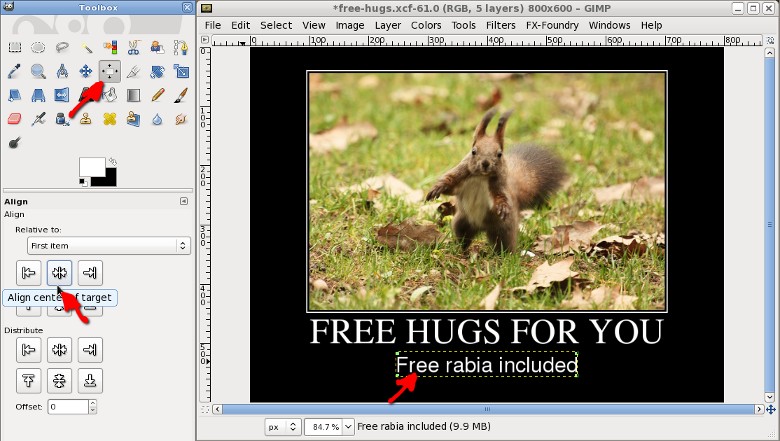
And the poster is ready:

Enjoy it:
More:
Now I have a demotivational posters mini-site made following the recipe above, they are all free, published under a CC-BY-SA license, so feel free to reuse them.