Hyperspace comic
Foreword
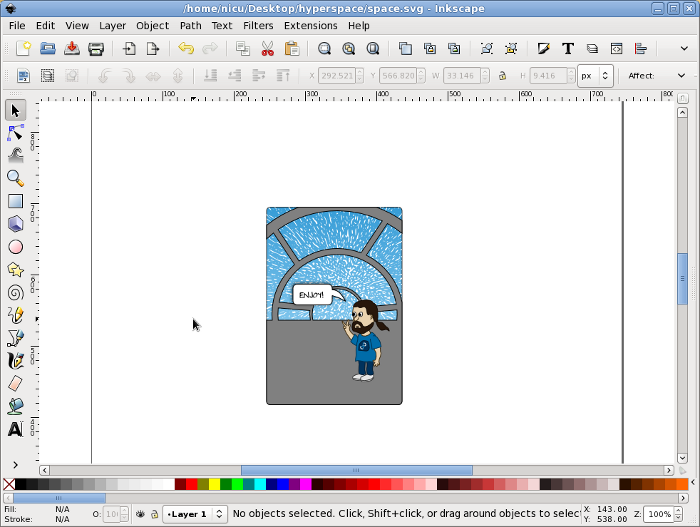
This time I feel like doing a crazy and useless tutorial, based on the last episode of my webcomic and using a combination of Inkscape and GIMP I will create a space ship jumping into hyperspace (last panel of the comic).

The ship
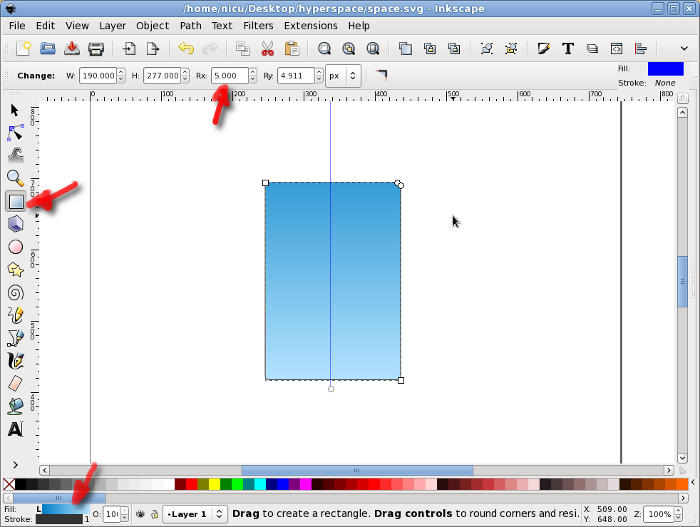
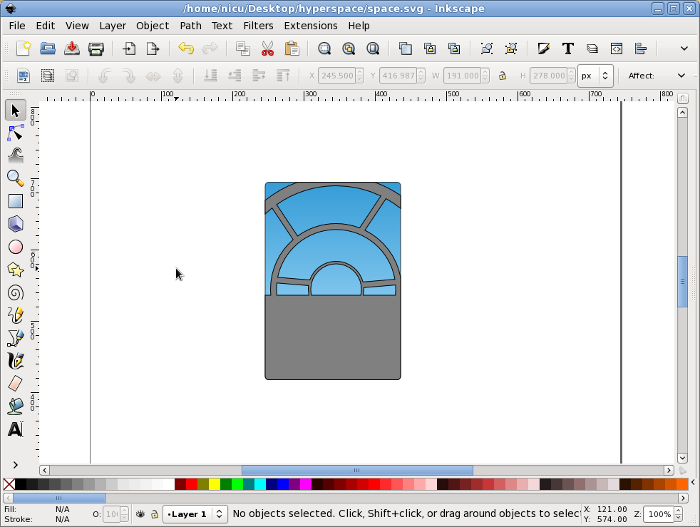
The first step is to make a panel for the comic. Following the style of my comic, I use for that a rectangle with rounded corners colored in a light blue gradient.
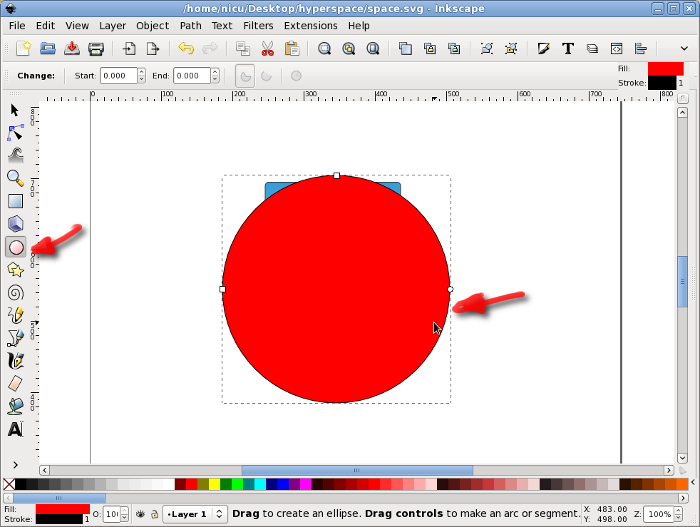
So let's do the ship! For the geeky feel I want to make it look like the Millennium Falcon,
so I start with a circle, made with the ellipses tool while keeping the Ctrl key pressed.
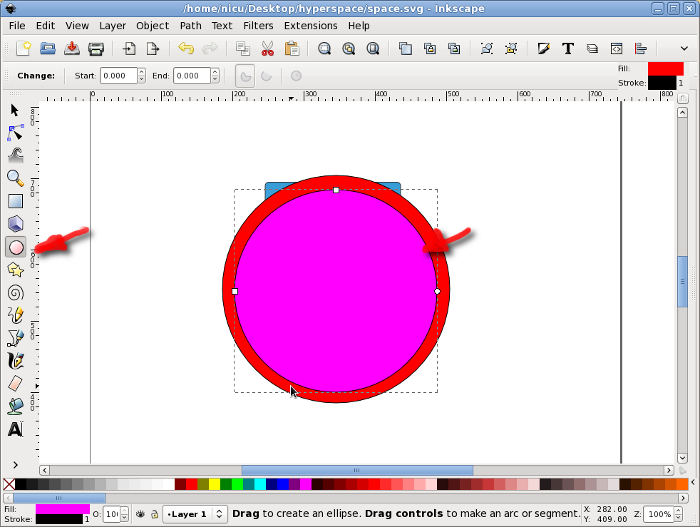
And a second, slightly smaller, circle
Select both of them (with the Shift key) and using the Align and Distribute dialog align them at the center of the bigger circle.

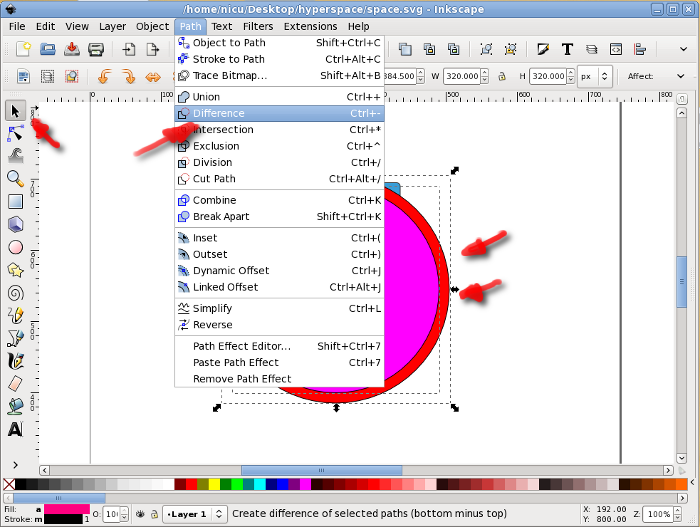
With both of them still selected, substract the small circle from the big one to get a ring.
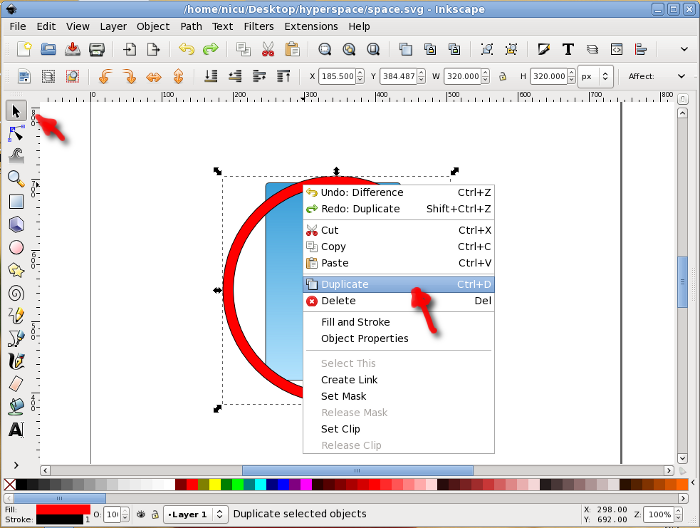
Duplicate the ring (Edit > Duplicate.
And resize the copy (keeping the Ctrl key pressed to preserve the aspect ratio) to make it smaller.
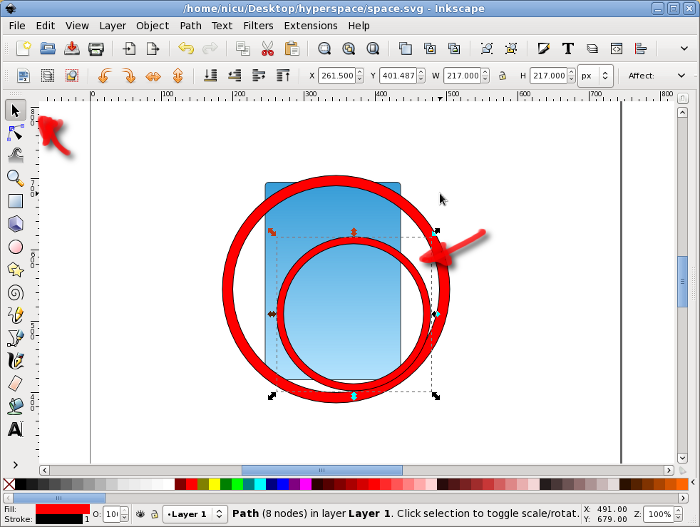
And make yet another duplicate and resize it further, for a much smaller ring

Now select all 3 rings and align them to the same center
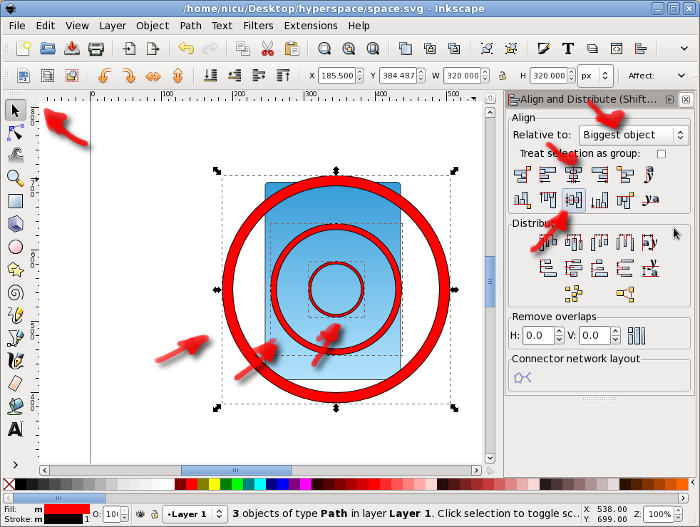
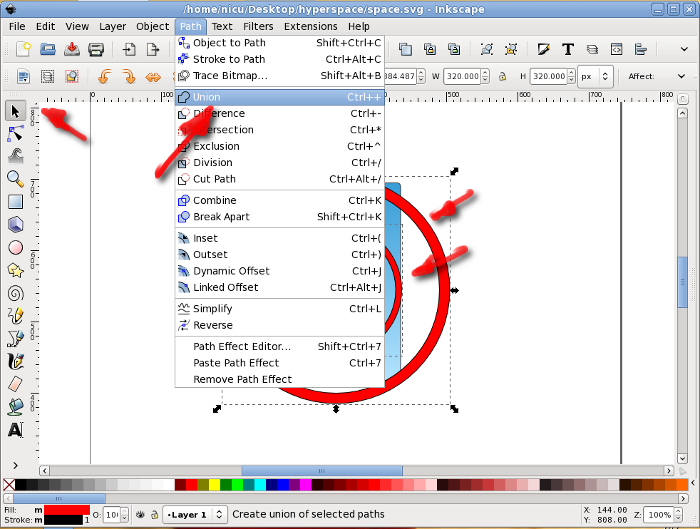
The rings still selected, perform an union operation
Duplicate the base rectangle pane.
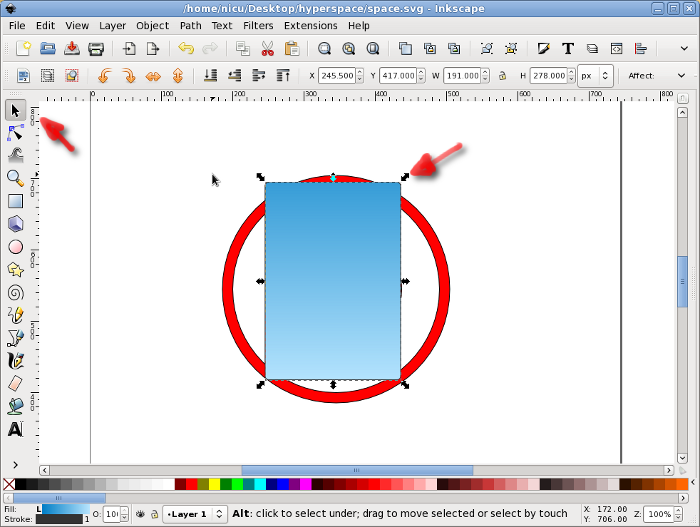
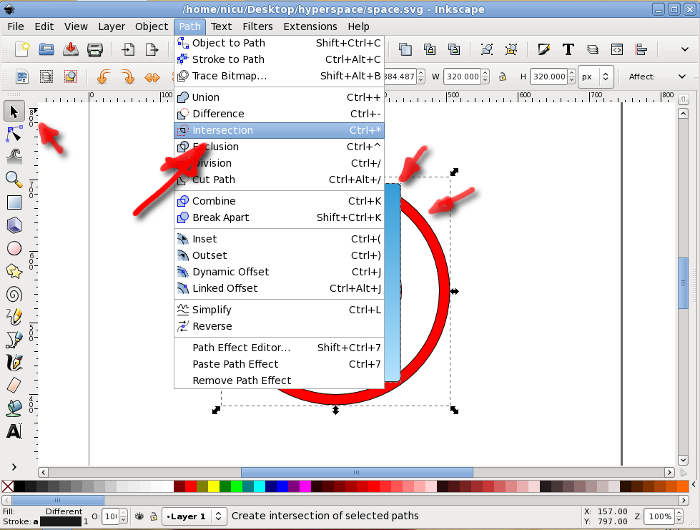
And intersect it with our circles
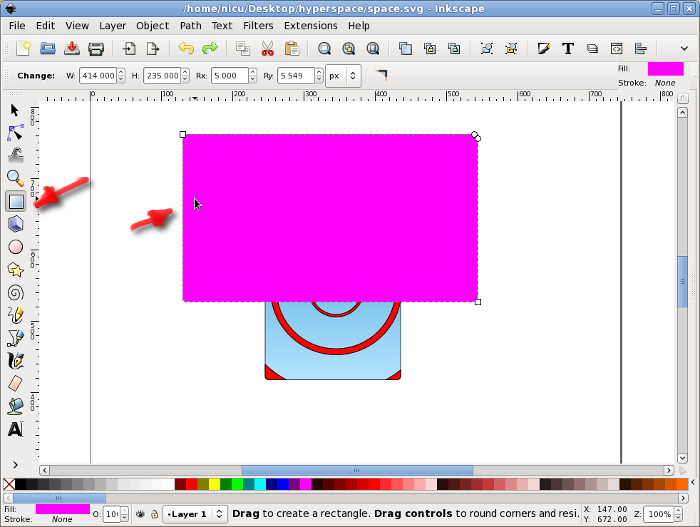
Draw a new rectangle, covering a bit more than the upper half of the panel
Duplicate the base panel once more an substract the top rectangle from it.
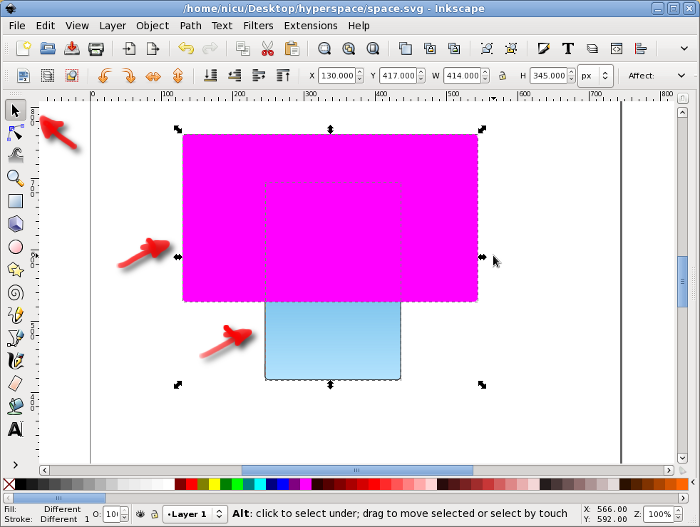
Now we have "the floor" at the base of the panel.

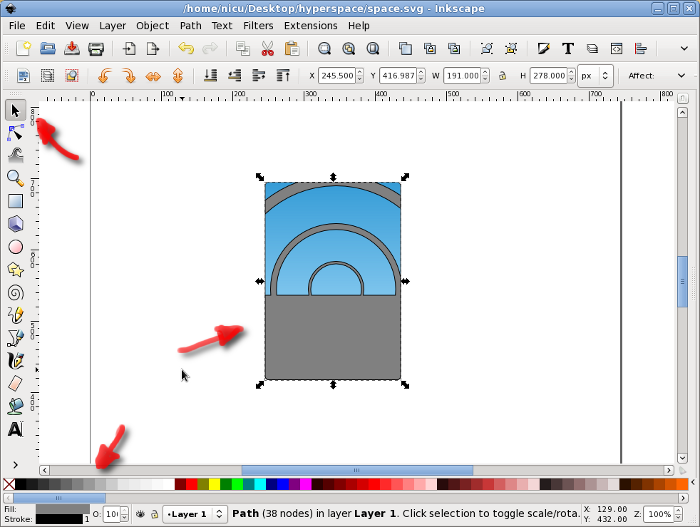
Select the floor and the rings and to an union, it starts looking like Millennium Falcon's cockpit.
The rings need a resistance structure, so they need support. Draw a thin rectangle.
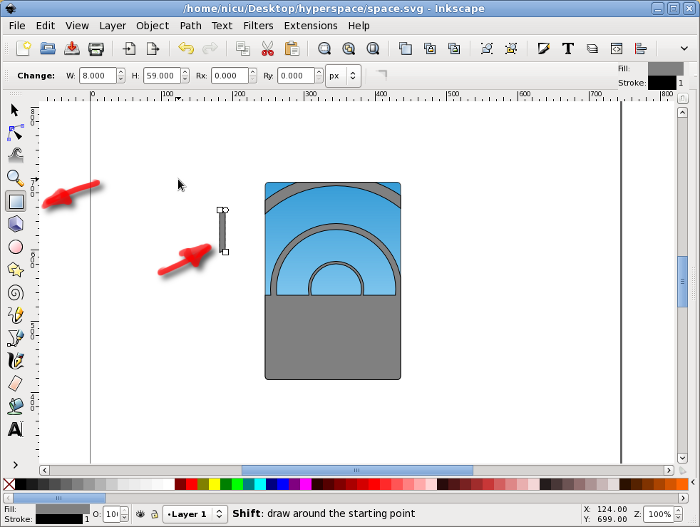
Rotate it and Move into position

Duplicate, Flip, Move and Rotate until we get all the bars into place.
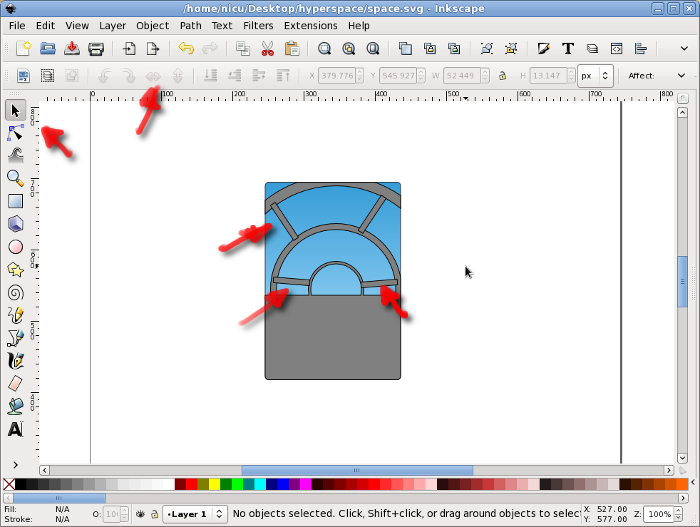
Select the bars and the rings, do an union and the cockpit is ready.
Hyperspace
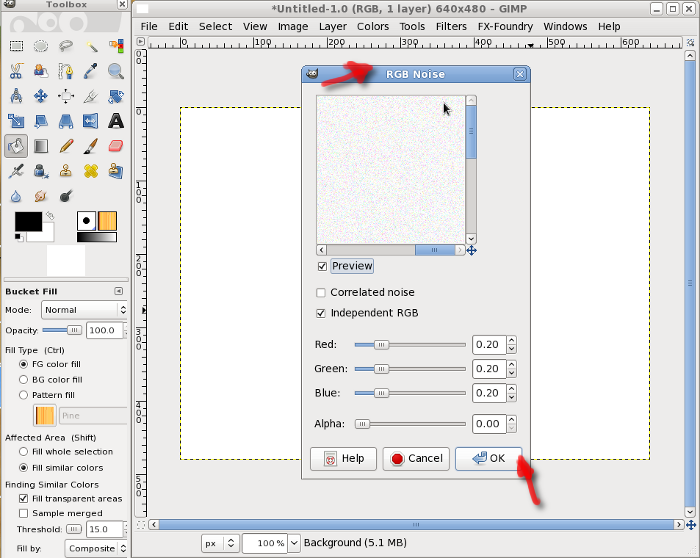
Drawing the hyperspace is harder, so instead of a lot of work in Inkscape I used a shortcut with GIMP, so start gimp with an empty (white) document.

Add some RGB Noise (Filters >Noise > RGB Noise)
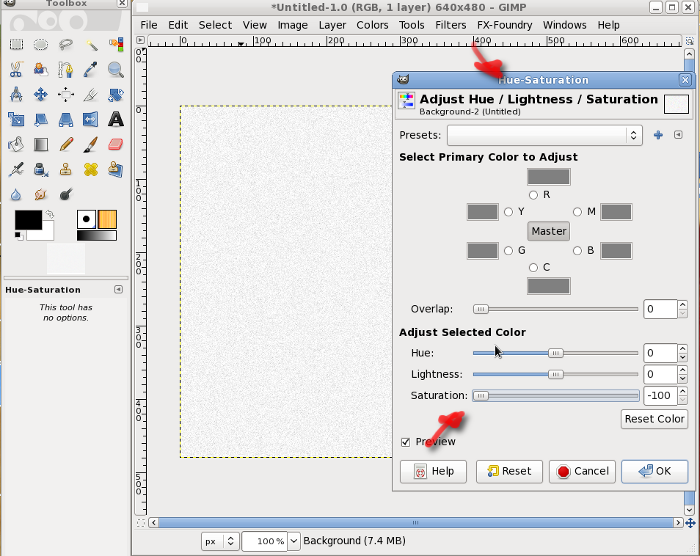
Desaturate the image (Colors > Hue-Saturation) to get an black and white image.
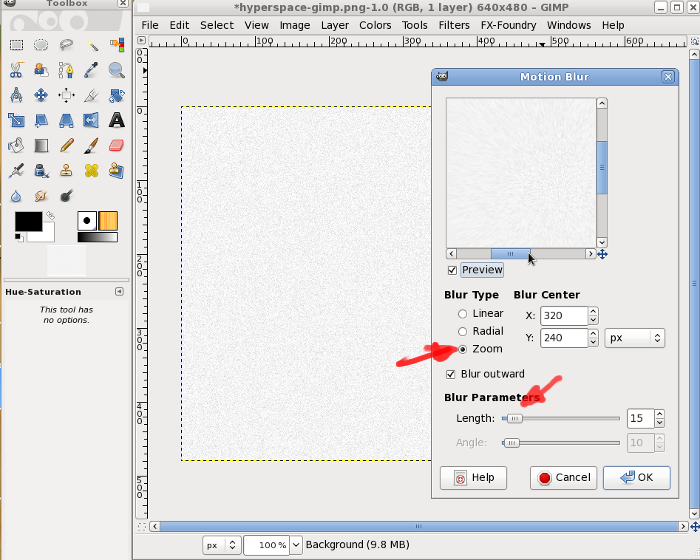
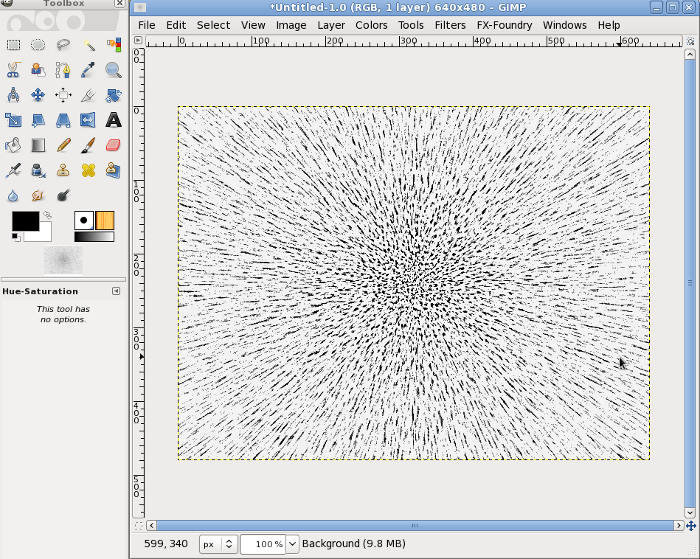
And apply a Motion Blur filter (Filters > Blur > Motion blur) p select Zoom as type and play with length as you like.
Too increase the effect, apply a Cartoon filter (filters > Artistic > Cartoon)
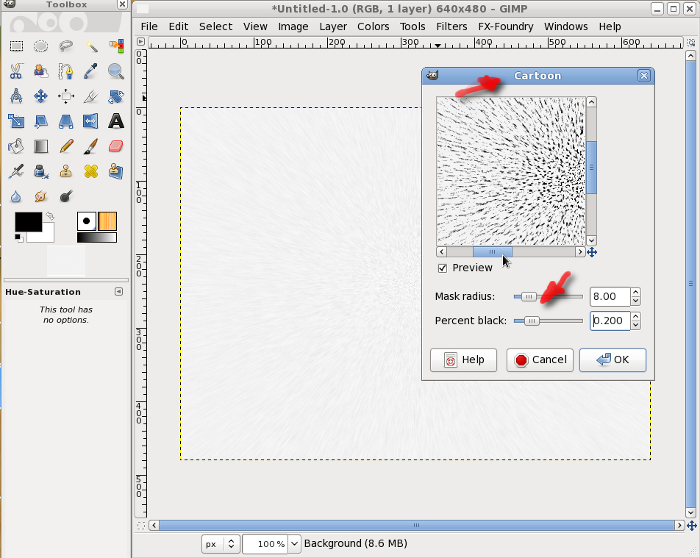
Now it does look like a starfield seen at high speed, save as PNG and you can close GIMP.
putting all together
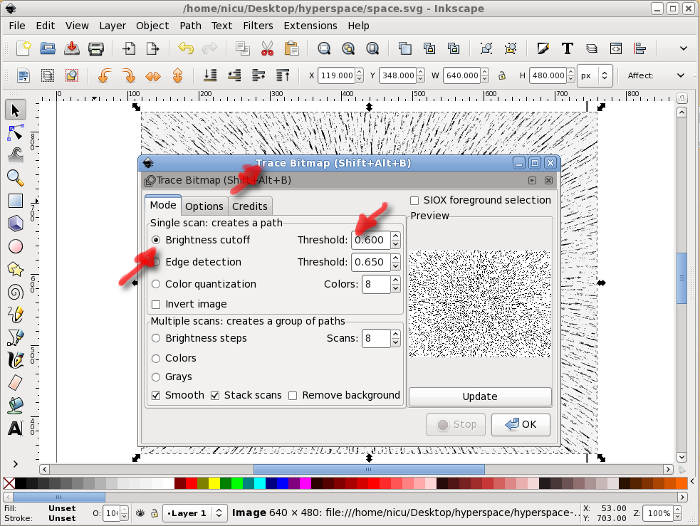
Back to Inkscape, import the PNG made with GIMP.

Trace the imported PNG (Path > Trace Bitmap) by Brightness and then you can delete the PNG.
Move the starfield over the comic panel

Resize if needed
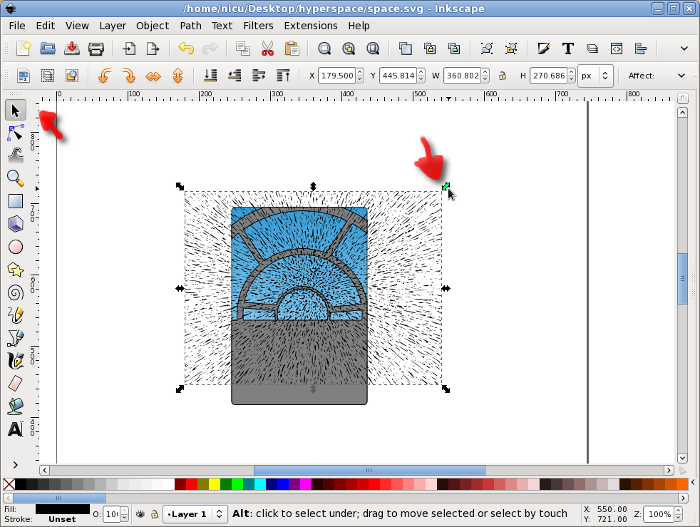
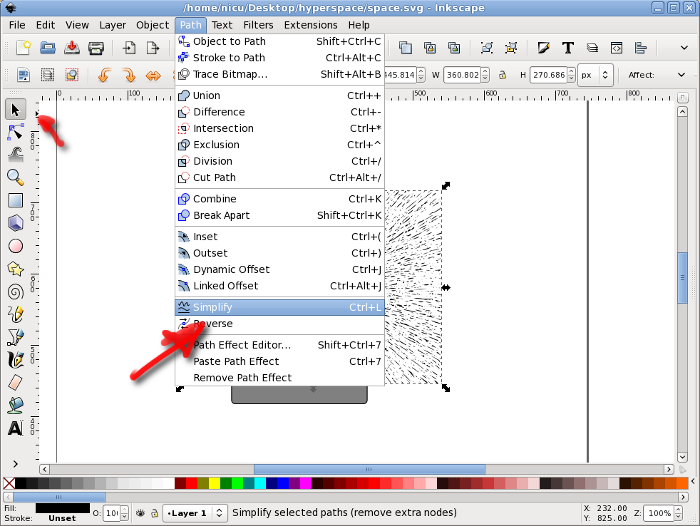
And Simplify the path, to decrease the node count
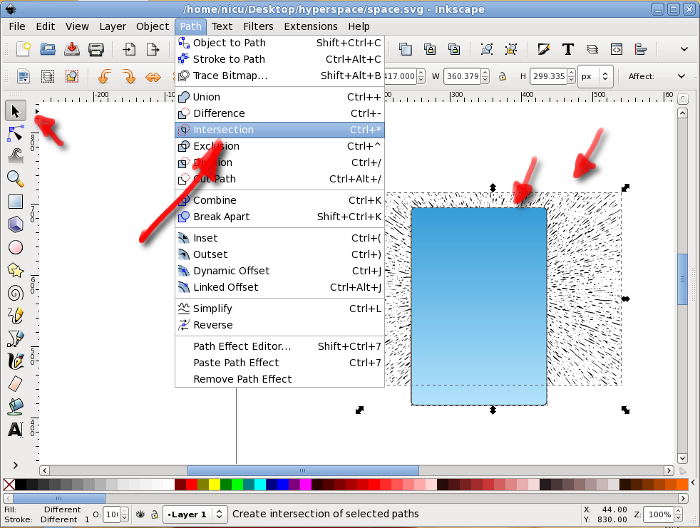
Make a duplicate of the base panel and intersect it with the starfield.
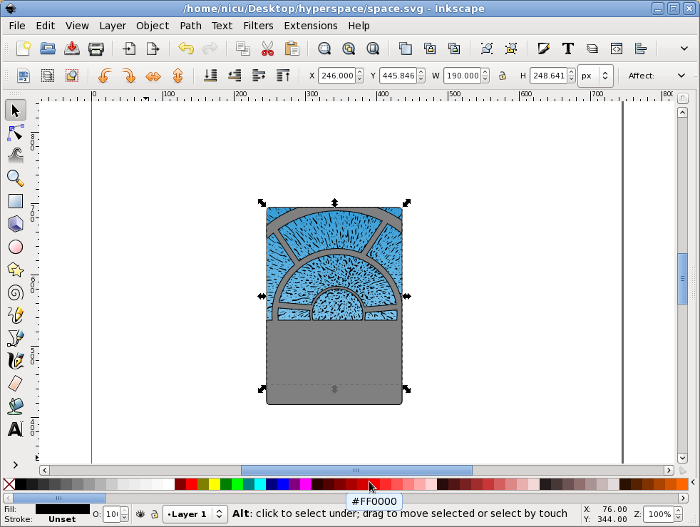
Lower the stars behind the cockpit structure
And make them white
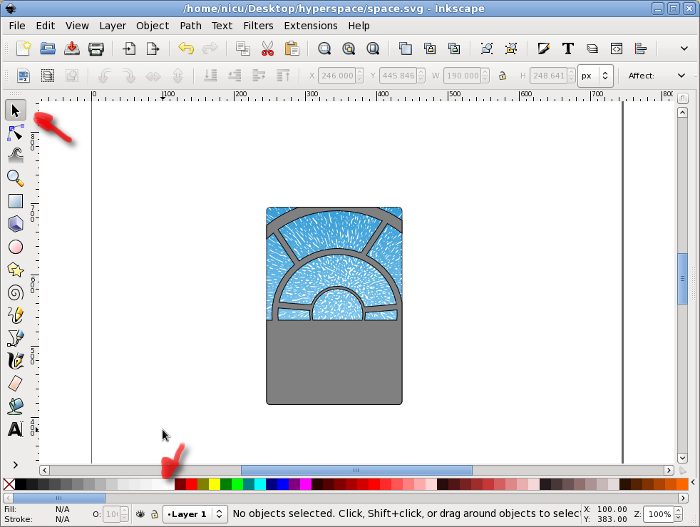
That's pretty much your spaceship jumping into hyperspace, enjoy it and go forward with the comic!