

 How it's made: create a RPG map element with Inkscape
Preamble
 It's been a while since I wrote a tutorial (in fact quite a while, as "wrote" != "published") and that was for good reason: I was not able to come with a tutorial fitting the rest of my my tutorial site and did not want to break the tradition . So it was a hard decision to write this piece, which comes as a conclusion to my quest to create a RPG tileset of over 50 clipart images, a decision I made mostly because I already was asked about how I made the images and expect even more questions in the future.
This is not exactly a tutorial, is more a "'how it's made" (or "making of"), the steps below are an illustration of my Inkscape workflow used to create the clipart set, I won't pretend this is the best process, or even a good or simple process, is exactly that: an illustration of my own workflow. There are many alternate paths one can take, like draw the outline using the calligraphic tool, simplify the nodes automatically, fill with the paint bucket or color with plain colors instead of gradients.
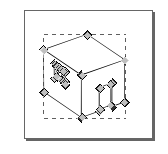
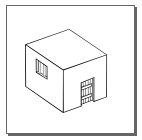
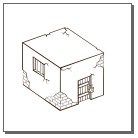
![[jailhouse]](jailhouse.png) On the course of this process a simple building, a jailhouse will be drawn, starting with the black and white contours, adding a number of small details and finishing with coloring.
On the course of this process a simple building, a jailhouse will be drawn, starting with the black and white contours, adding a number of small details and finishing with coloring.
The building: How it's made
Since I used an old Inkscape version, without angled guides, the first step was to draw a perspective plane, to help with the perspective of the rest of the image:
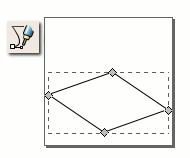
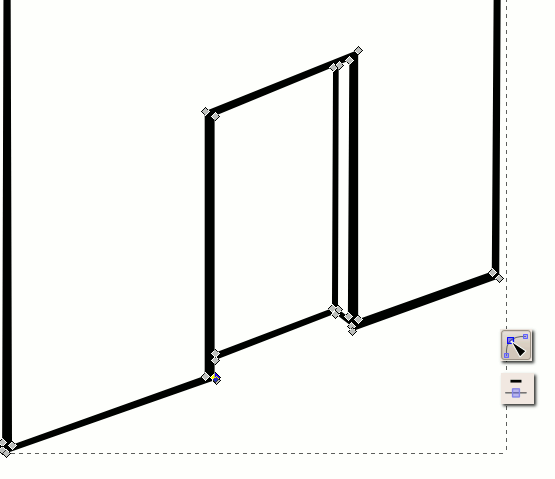
With the line tool (Bezier) draw straight lines to define the overall shape of the building. The lines are either parallels with the contour of the starting perspective plane or verticals:

Select all (Ctrl + A) and convert strokes to paths (Path > Stroke to Path):
Select all the paths and perform an union operation (Path > Union):
Zoom in and delete unwanted nodes at the joints:
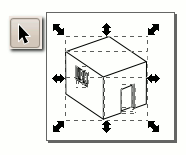
Now we have the basic shape of the building:
With the same line tool draw straight lines add some details. Convert strokes to paths and edit nodes just like in the steps above:
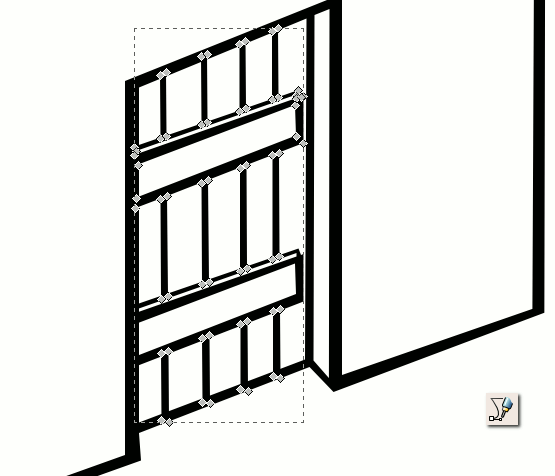
And the basic shape in now richer:
Continue adding details (straight lines converted to paths) until you are happy with the result:
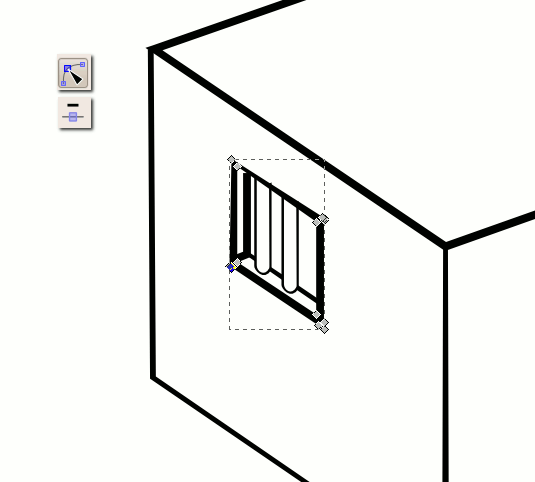
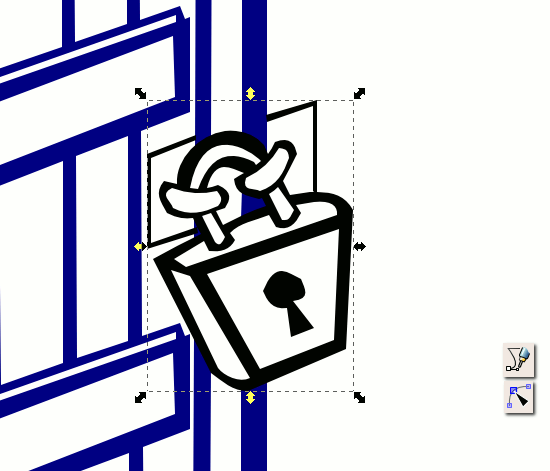
This particular house is a Jail House, I don't feel like the bars at the window are enough to suggest this, so I zoomed in again and draw (with the same straight lines converted to paths) a lock at the door:
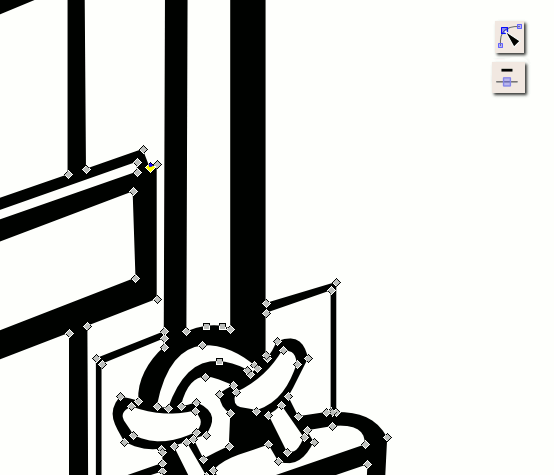
Select all, zoom in, and delete unwanted nodes to clean and simplify the drawing:
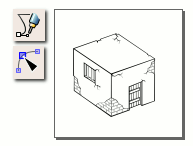
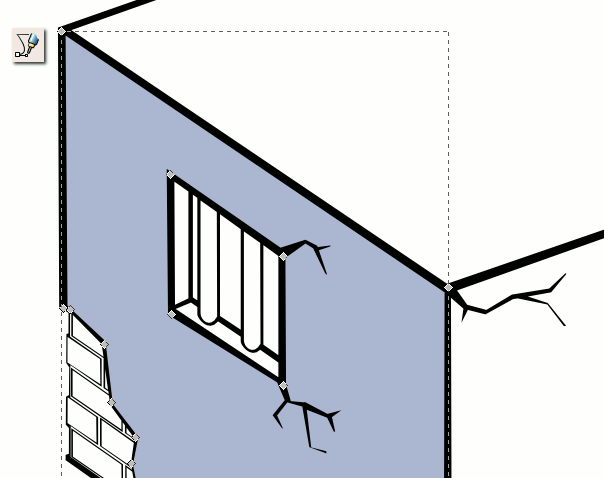
The outline is ready, it can be used "as is" in a black and white map or we can go further and add color:
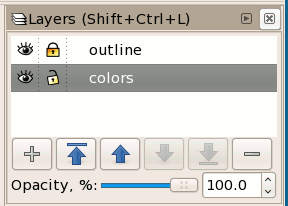
Lock the layer containing the outline (I also named it Outline for easier identification), we don't want it to stay in our way, and create a new layer (I named it "Colors") below it, this will be used further:
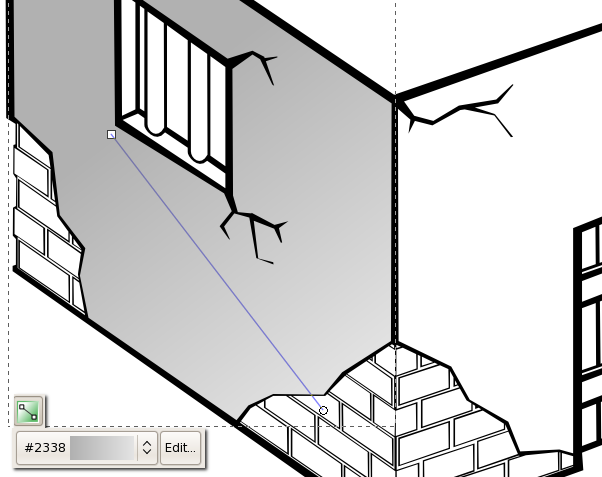
Using the same line tool draw a closed polygon under the outline representing a surface:
Fill the polygon with a gradient, taking care of the light source and direction:
Repeat the process for all the surfaces:

Some surfaces, opposed to the light source, are darker. Duplicate the polygons and fill them with a partly transparent black:
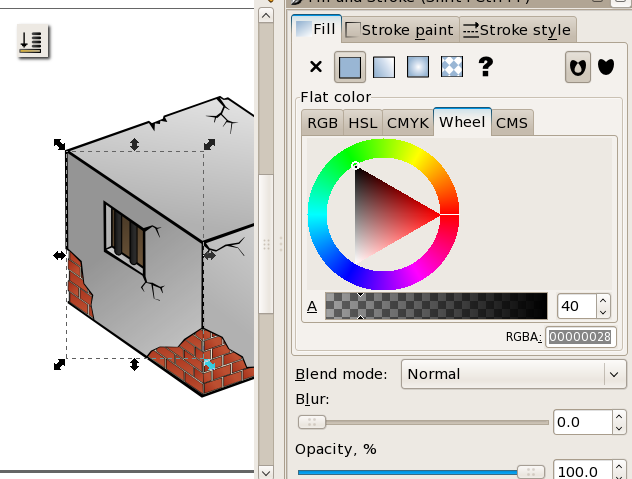
Add a drop shadow: a black polygon moved below the rest of the image:
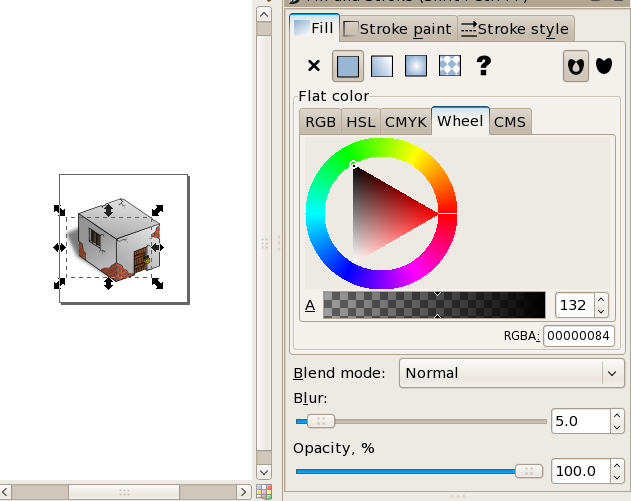
Add some blur and decrease the opacity of the shadow:
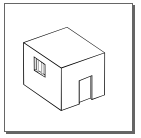
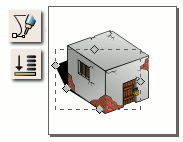
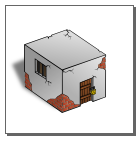
The building is done, enjoy it:
An alternate look can be obtained by removing the outline (I still prefer the version with the black outline, it's creation require less attention to details):
Feedback
You can leave feedback, complaints, praises or additional questions to my blog.Closing
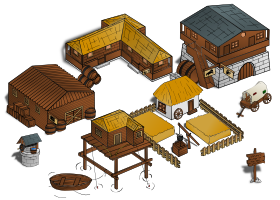
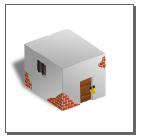
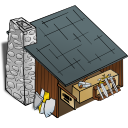
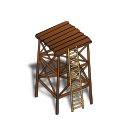
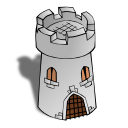
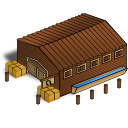
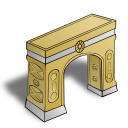
Have a look at some bore buildings created using the same process (they are all part of my RPG map elements pack):


Update: a
 Romanian translation is also available.
Many thanks to my friends at OpenArt.ro, www.xdrive.ro and Inovatika for motivating me to write this.a disclaimer will appear here soon

