

 NASA mission styled badges with Inkscape
Introduction
This time I have to start by giving credit where credit is due, since all the "NASA mission badges" concept, including the STS-98 reference, is shamelessly stolen from Zoltan (I hope I didn't gave away any of its ongoing projects).
So if I celebrated the Fedora 13 Alpha release with an Inkscape rocket drawing tutorial, I have to do something for Beta too (Beta is supposed to be bigger than Alpha) and after stealing the idea, making a Fedora themed badge in the NASA mission style seemed an obvious choice. Sure, you are not forced to use the same theme but use the instructions creatively. For me, I am aiming for something like this:
The badge
So a badge is usually round, let's start by drawing a circle (keep the Ctrl key pressed to preserve the aspect ratio):
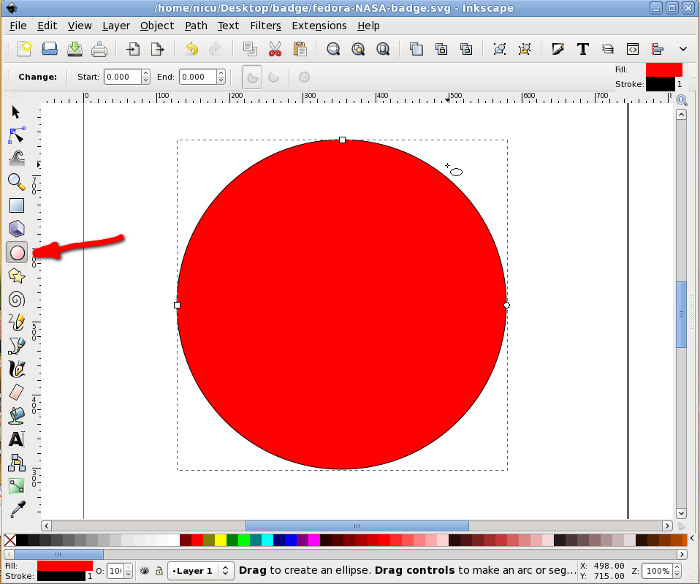
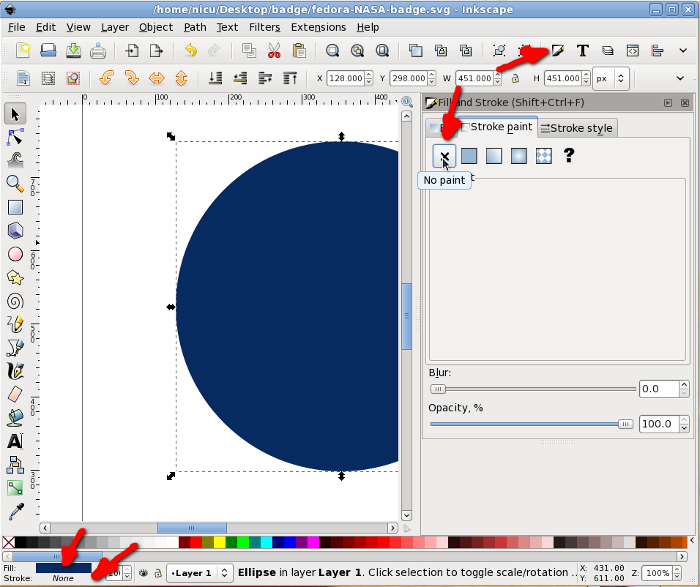
Make sure it has no stroke and apply any fill color you like (going with the Fedora theme I used Fedora's dark blue):
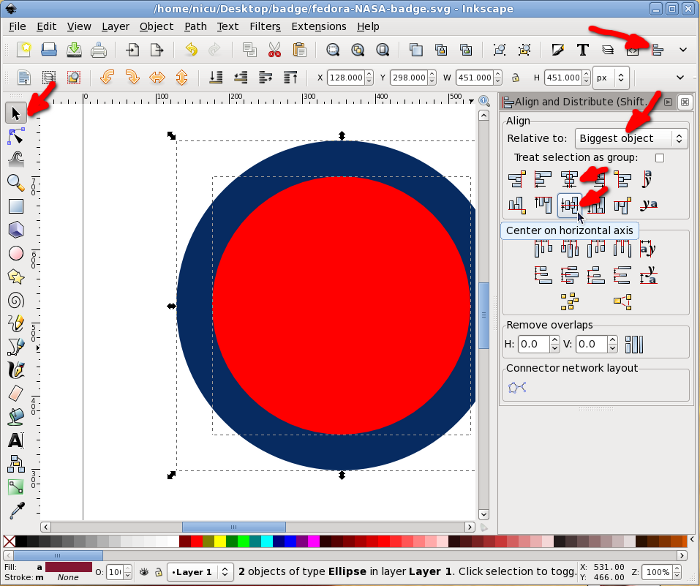
Now we need a circled text, we will need a guide for that, so create another smaller circle (leave it in a contrasting color so is easy to work with each element):

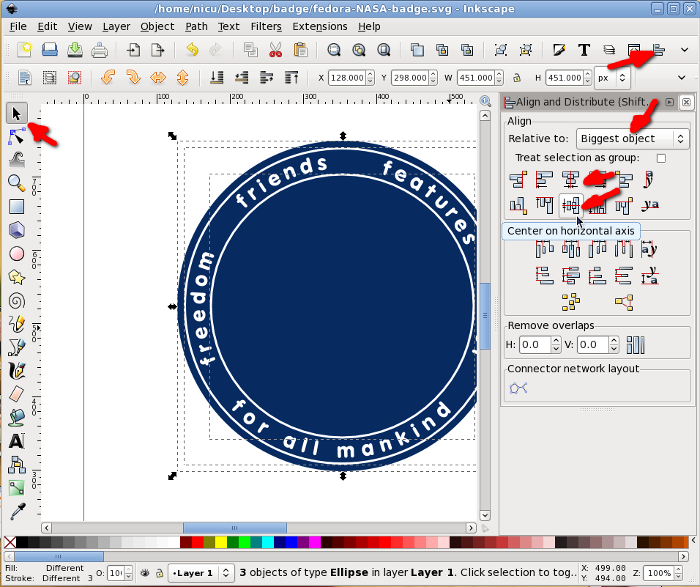
Select the two circles and using the Align and Distribute dialog center them vertically and horizontally relative to the biggest object (the first circle):
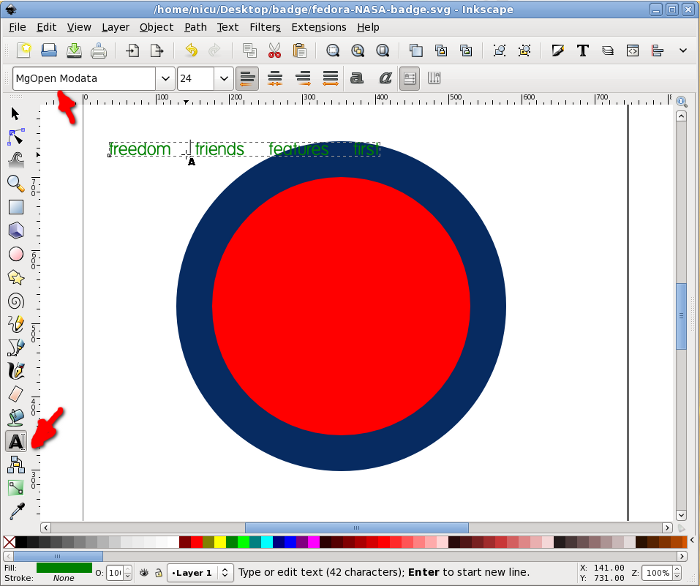
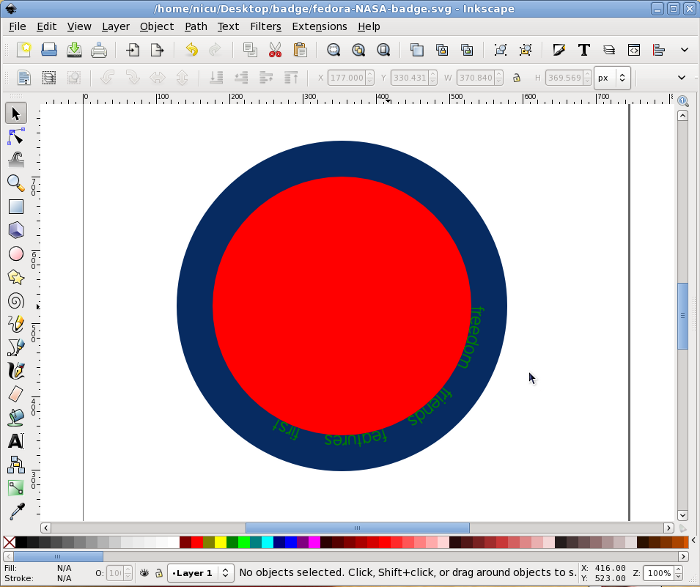
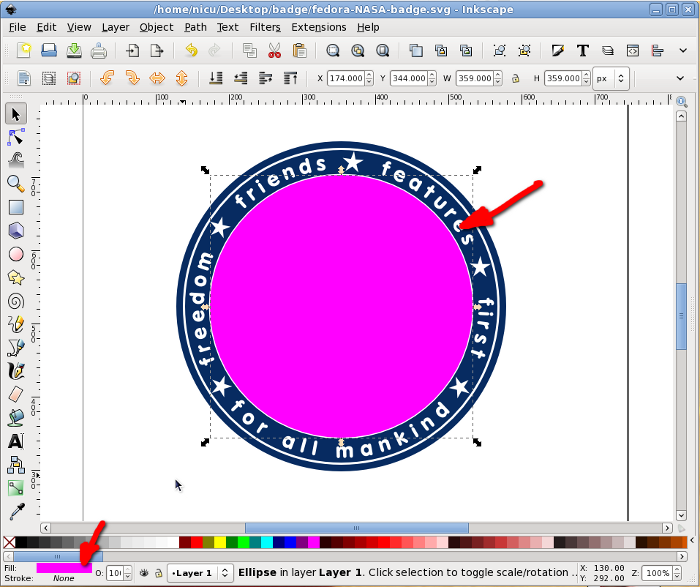
With the text tool write the text you want on the badge. Keeping it in Fedora I used the 4 Foundations, "Freedom, Friends, Features, First" in the MgOpen Modata font (our complementary font). I intentionally left big space in between the words to have later space for adding some stars:
Select the text and the inner circle and put it on path (Text>Put on Path):

Now the text is curved but not in the best position:
So select the circle and rotate it as you will (the text will follow it automatically):

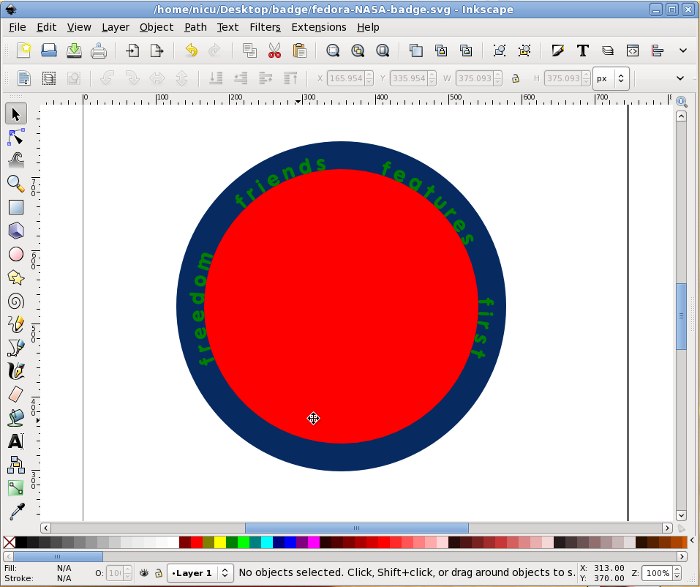
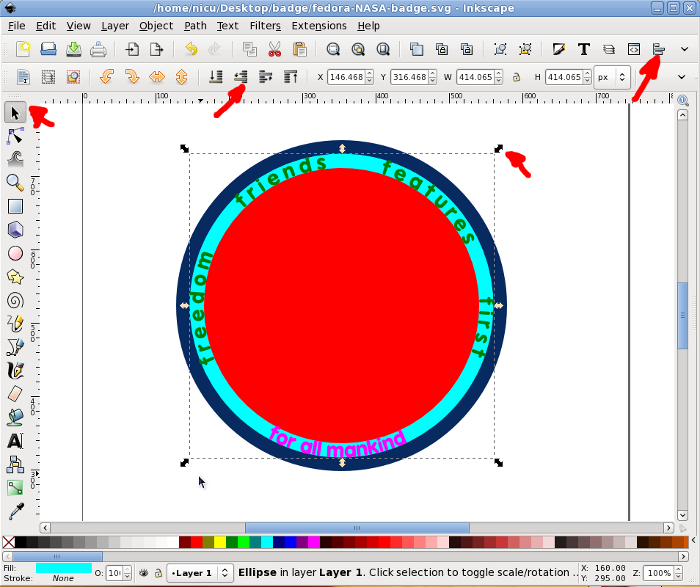
Let's adjust the text further, change the font size and style as you like (I made it bold and bigger). I also adjusted the letter spacing: with the text tool select it and then press Alt + Shift + > until you get a spacing you like:

If the placement is not perfect, rotate the inner circle further until you are happy with the adjustments:
Having a rounder text at the bottom with a different curvature is just a bit trickier and I don't have a scientific method for it, so follow me and judge with your eye. Draw another circle (I duplicated the one used previously) and to work easily make it a distinct color (mo matter which color, is for temporary use. Write some text, I stole "for all mankind":
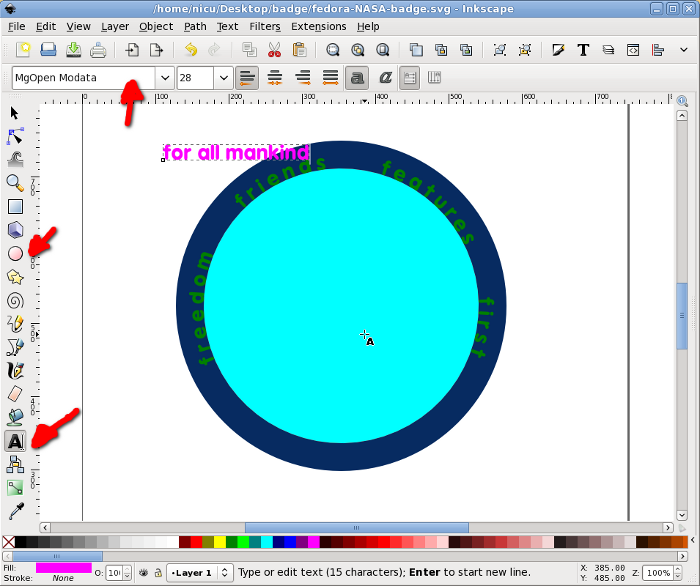
Select the text and new circle and put the text on path. Is over the other text, but we'll correct this in a few seconds:
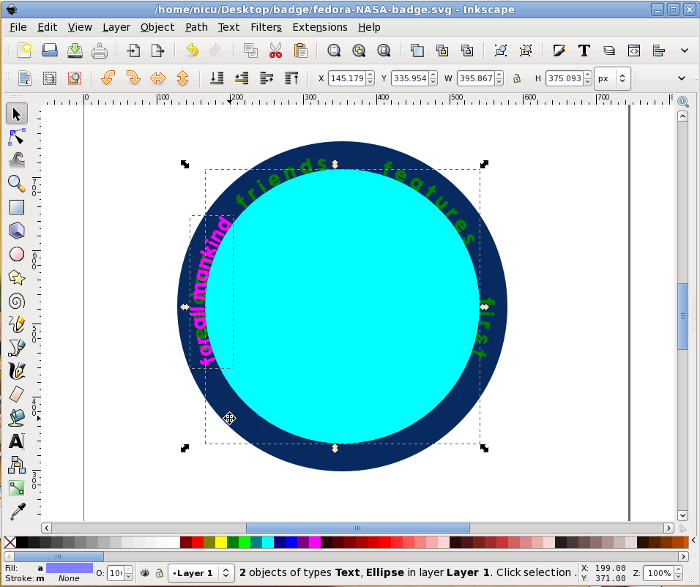
Rotate the circle to move the text at the top:

Now select the circle and flip is vertically. The text will jump automatically at the bottom, better but not yet perfect: the correct curvature but not the correct placement.

For a better visual orientation I lowered the cyan circle under the red one (so I can see a ring) then increased its size (with the Ctrl key pressed to preserve aspect ratio) and aligned it again vertically and horizontally to the center of the bigger circle. Adjust until you are happy with the text placement (it will follow automatically all the transformation you do on the circle):
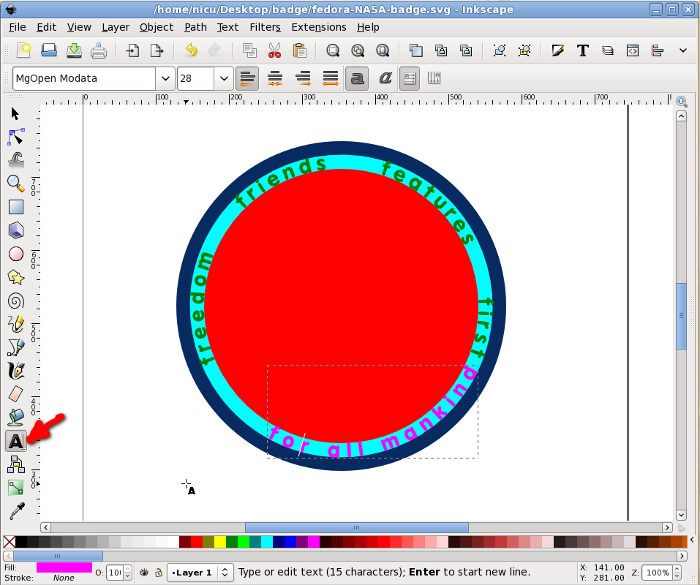
Select the bottom text and using the text tool press Alt + Shift + > to get a letter spacing that will please you and fit the top text:
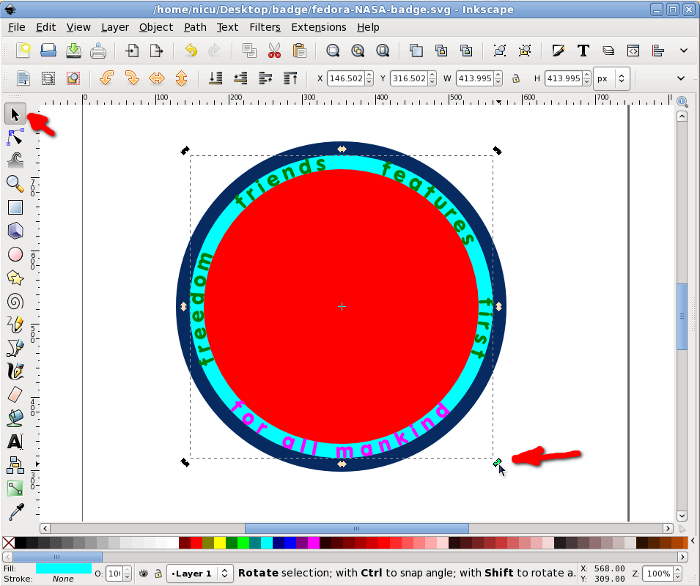
Select the circle and rotate it until the text gets in the best position:
Is time to get the guiding circles out of the way, so select them and remove the fill color, they are invisible but still exist in case we need them later:

Make the text white and our little drawing starts looking like a badge or a button:

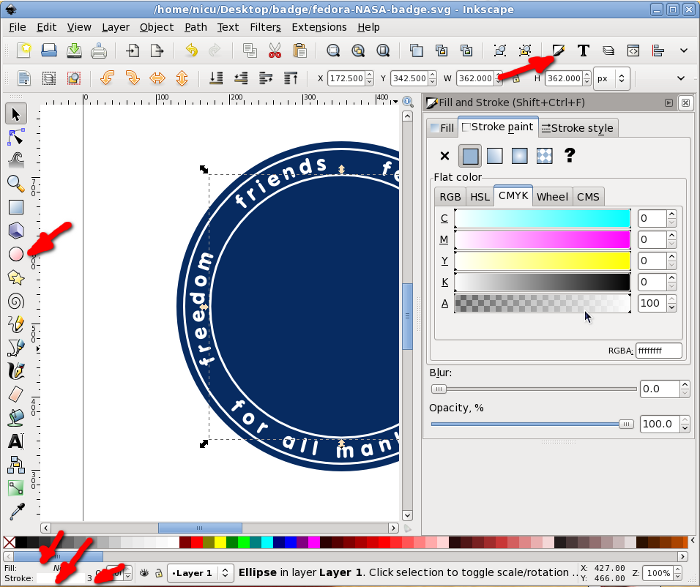
To have it look more like a badge, add two new circles with white strokes and no fill color (use the Fill and Stroke dialog for this). If you feel like it, change the stroke thickness/width too (I made it were 3 px from the same dialog):
Select the two new circles together with the first (biggest, blue) circle and align them to the center:
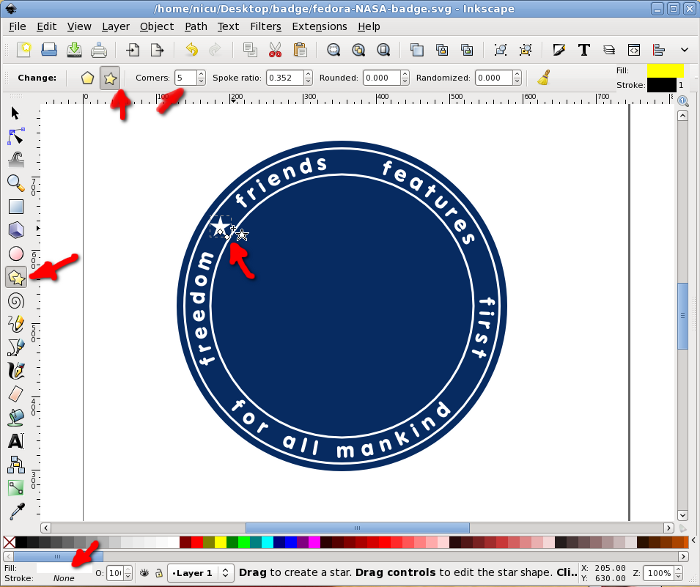
Use the star tool to create a white star with 5 corners and place in in between some of the words:
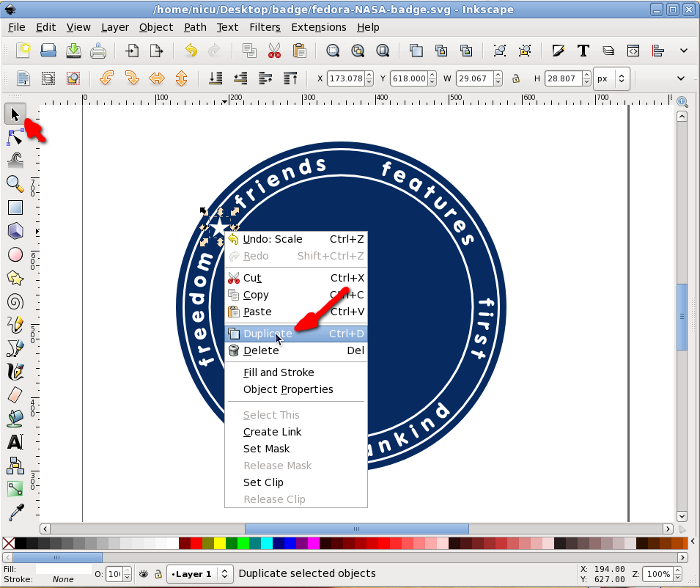
Duplicate the star a few times:
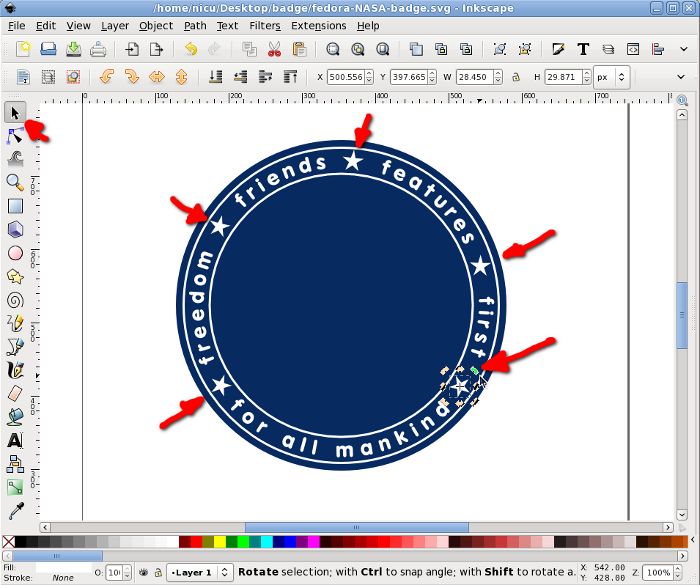
And spread the duplicates in all the empty spaces. If you feel like it, rotate each star a bit for perfect placement.
Decorations
At this point we have the basic badge, it only needs a pretty picture in the middle. I will start with some background image. Duplicate the inner circle (that has a white stroke and no fill color) but remove the stroke and fill with a random color, we will use it as a clipping mask:
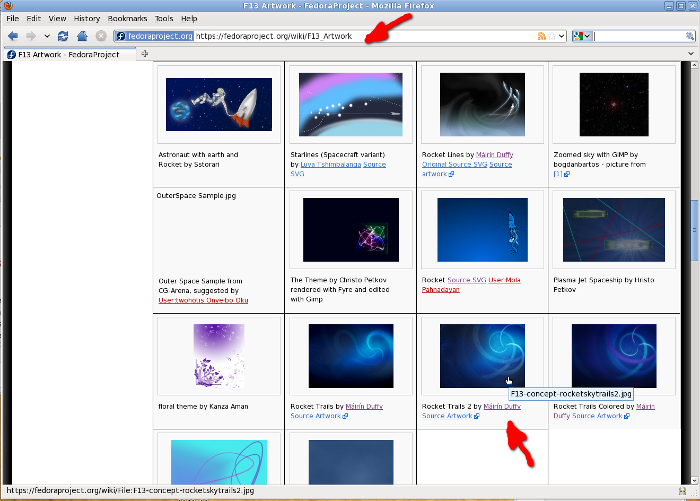
Is the time to hunt for a background, which may be a vector image (if you have a pretty graphic) or even a raster image (supposedly you want a space photo). Going back to my Fedora theme, I went to the wiki and downloaded one (raster, PNG) work-in-progress candidate for the Fedora 13 wallpaper:
Insert the background image (drag and drop will do it):
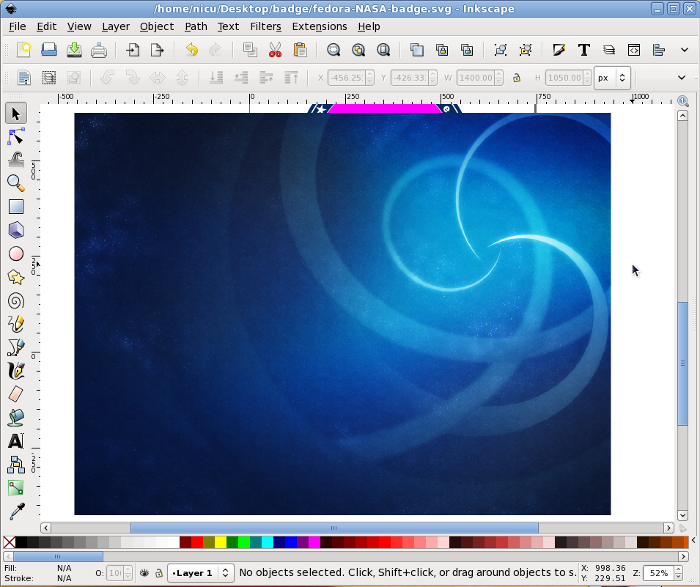
Lower the background under the clipping mask circle so we can see where we will cut:
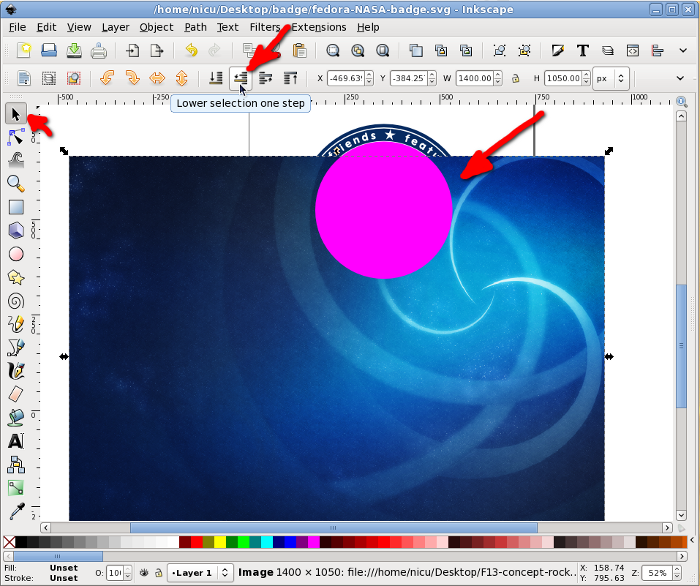
Resize (with Ctrl pressed to keep the aspect ratio) and move the background image so the circle covers exactly the part we are interested in:
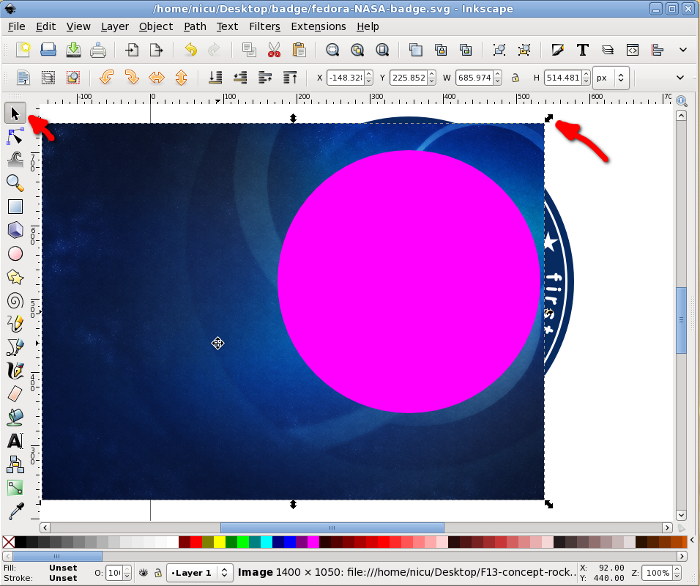
Select the circle and the background image and set the clipping path (Object>Clip>Set):
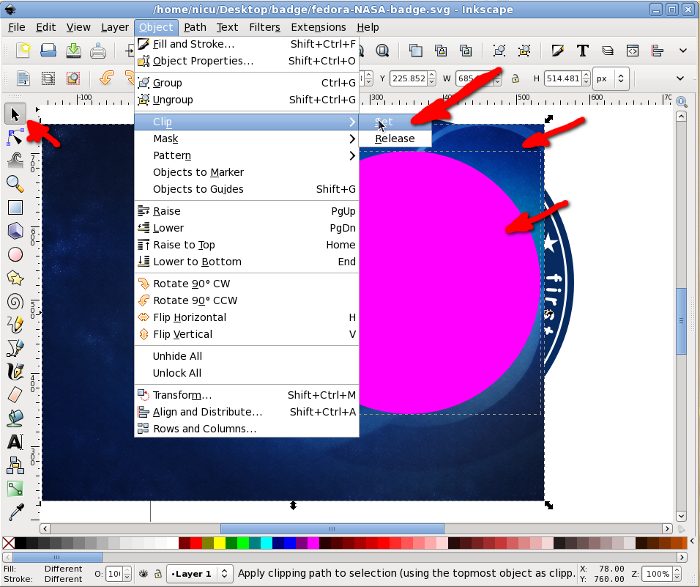
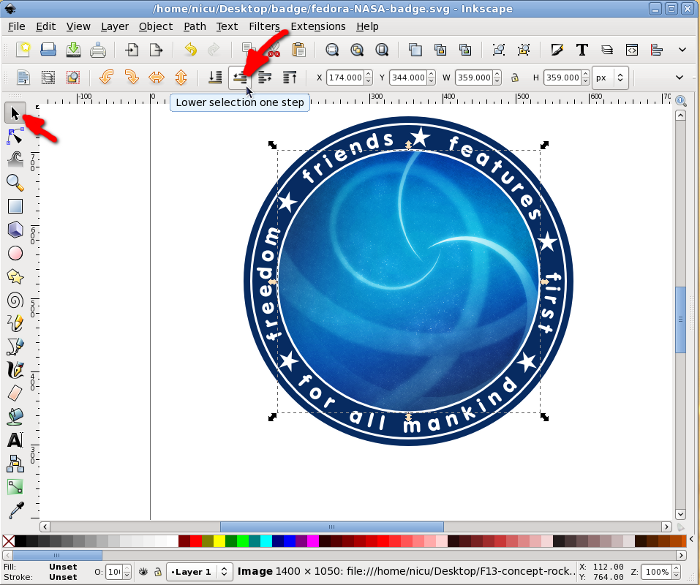
Nice, isn't it? Just lower the background image a bit so we can see the full white circle:
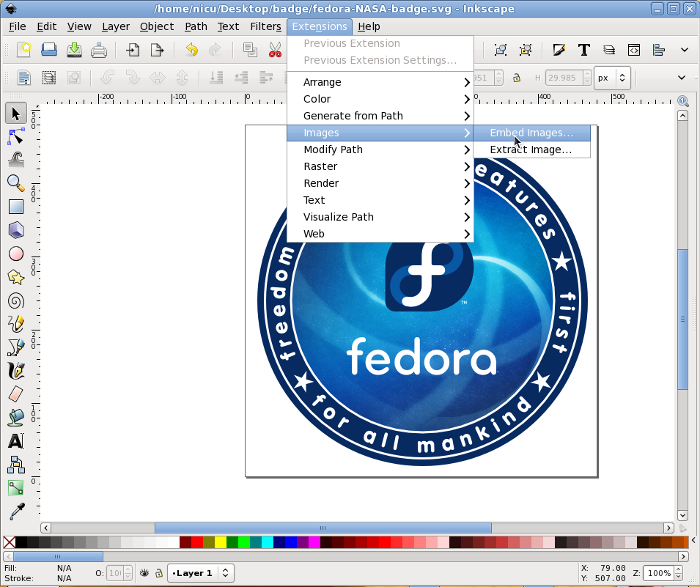
For the main decoration I am just using the Fedora Logo, the tutorial was long already and I don't want to become excessively boring, but feel free to play to your heart's desire:

Now it time for you do do your own badges, Fedora themed or not, maybe make them on some textile/rubber surface and attach to a jacket or backpack.
Closing
One more tip before closing: if you do like me and use a raster image as background it may be a good idea to embed it into the SVG, the file size will explode but you will gain portability, to edit further will need to carry only one file, the SVG, and forget about a linked JPG or PNG.
Feedback
As usual, you can leave feedback, praises, complaints, suggestions and so on on my blog.Many thanks to my friends at OpenArt.ro, www.xdrive.ro and Inovatika for motivating me to write this.a disclaimer will appear here soon

