

 From photos to comic strips with GIMP and Inkscape
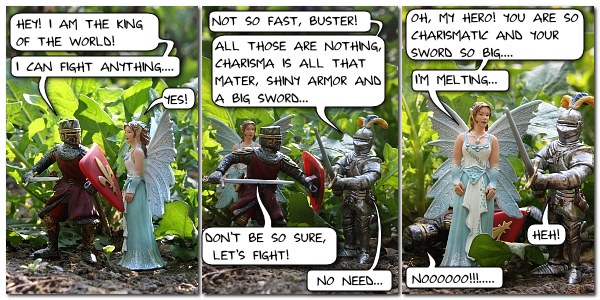
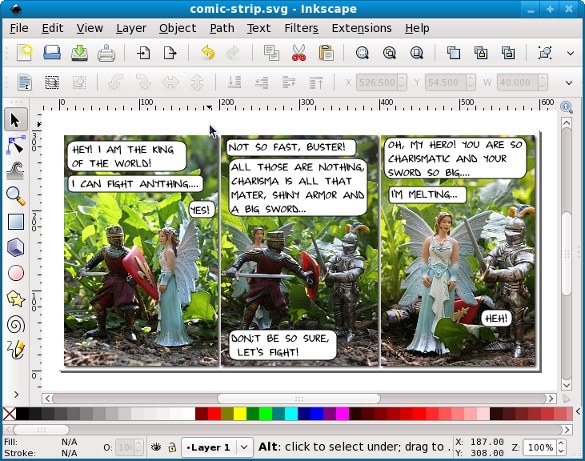
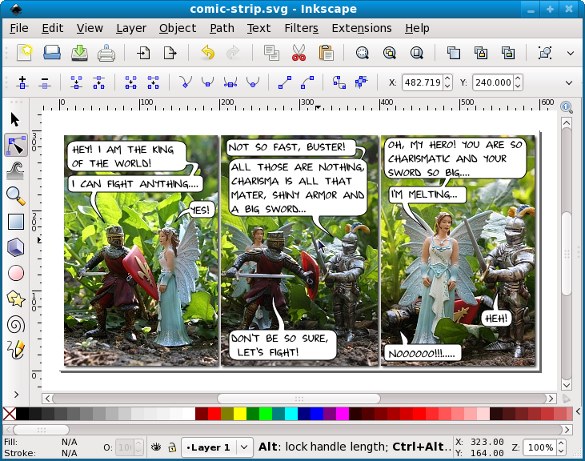
Today's tutorial will show how to create a simple comic strip starting from a few photos. While it is completely possible to do it in either GIMP and Inkscape, I used both applications in the process, every of them where it is best fitted. The expected result is something along the lines of the image below:
Photos
The obvious first step is to make the photos: plan the panels ahead, create a story, then arrange your subjects (here some wonderful Schleich plastic toys, but you can use even real people) and take the the shots. Use whatever you like best: hand held camera, tripod and cable release, sun light, flashes, reflectors, etc.

Assembling (GIMP)
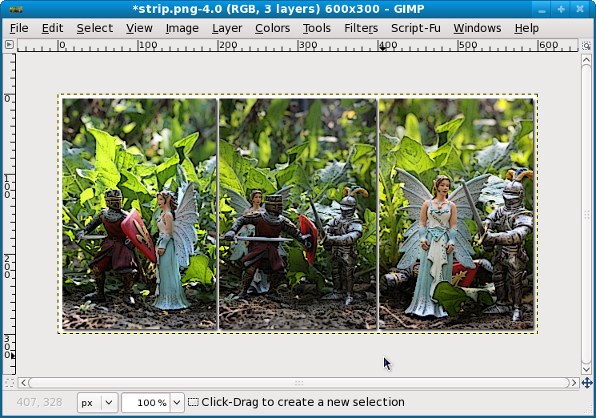
Open each photo with GIMP
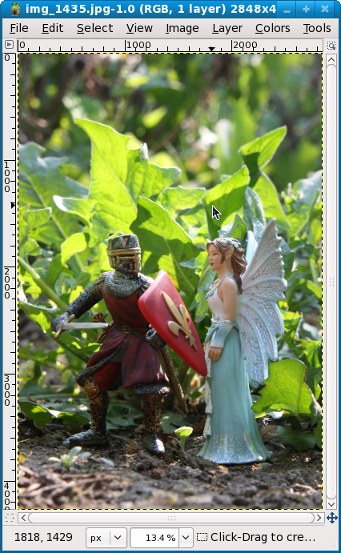
Usually your photo will be very large, so resize it at a working (final) resolution. Repeat the operation for each photo (here I have 3 of them).


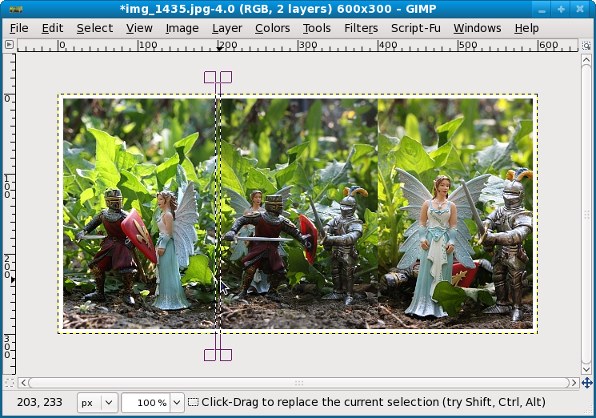
Now with one of the resized images open, is the time to make room for the others: increase the Canvas Size accordingly. I have 3 photos, so I tripled the width, while the height remains the same.

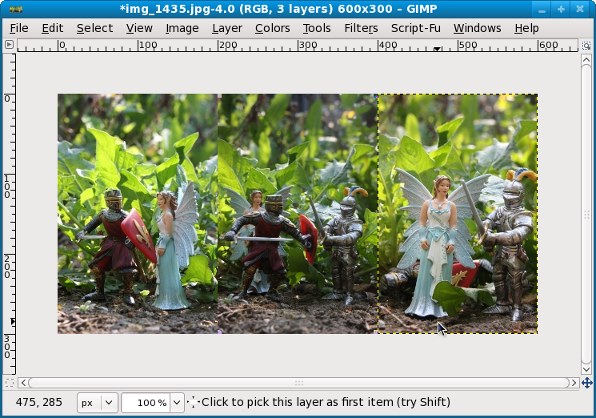
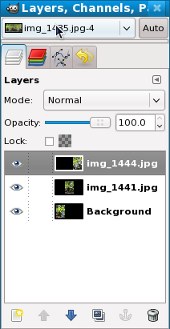
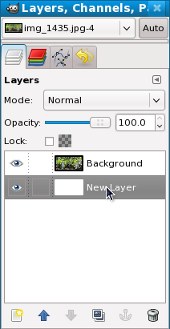
Then add the other photos as additional layers
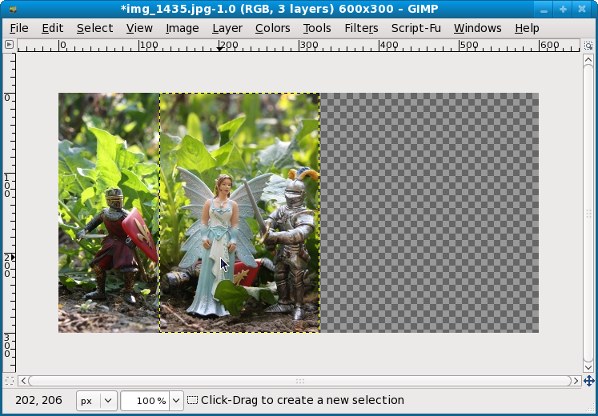
Use the Alignment Tool to distribute all the slides in their place (for me one was aligned to left, one to center and the third to right)

If the image taking conditions (exposure, white balance, etc.) were different from one photo to another, adjust the Color Curves until you reach a similar look. Ideally you would have a good knowledge of using the camera, do the shooting in manual (M) mode and this step is not needed

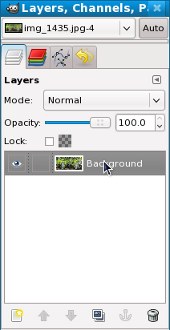
Now you cam merge all the image layers in a single one
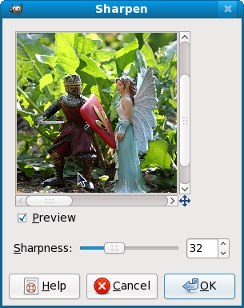
If you scaled-down a lot, like me who I'm using a 12 MP camera, the images are a bit blurry so apply some Sharpen filter to compensate
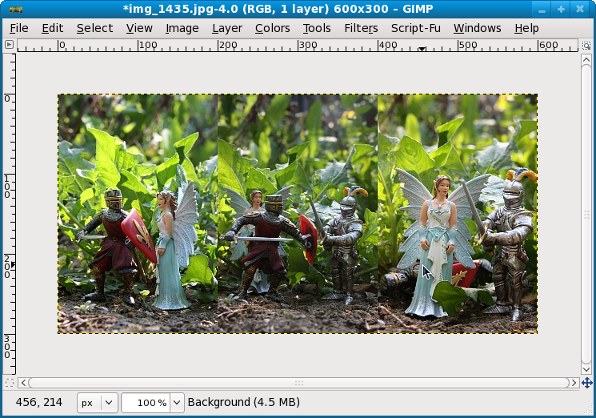
And you have a basic comic composition
Add a white layer as background
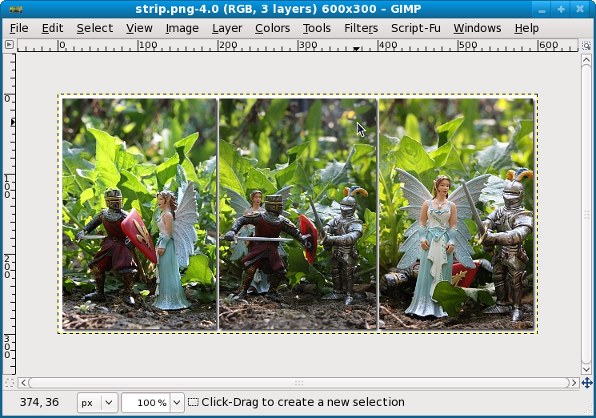
Use the Rectangle Select Tool and Cut a few pixels at one of the edges, leaving a strip from the background visible

Repeat for all four edges

And also cut columns in the inside, between the panels
Now the base comic strip is almost ready

If you like this, you can do like me and add a small Drop Shadow for a more interesting look

And have it as this
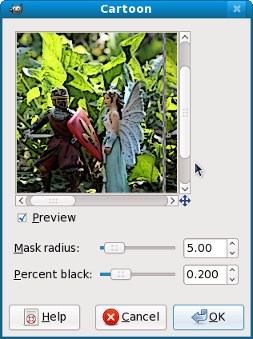
Another optional step: you can apply a Cartoon filter (I used it for a similar comic but today I like it better without it)
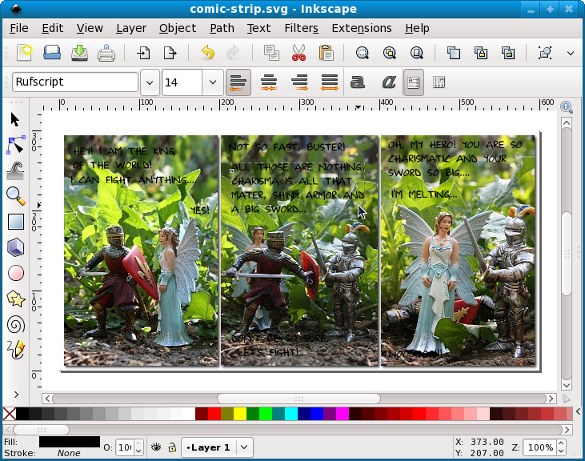
Text balloons (Inkscape)
Import the image created so far in Inkscape and using the Text tool add some witty (or whatever you want) dialogs over the image, in your desired positions. Use a nice hand-made looking font (I used rufscript, a Free font), or at least something Sans-Serif (but try to avoid MS Comic Sans, which everybody loves to hate)
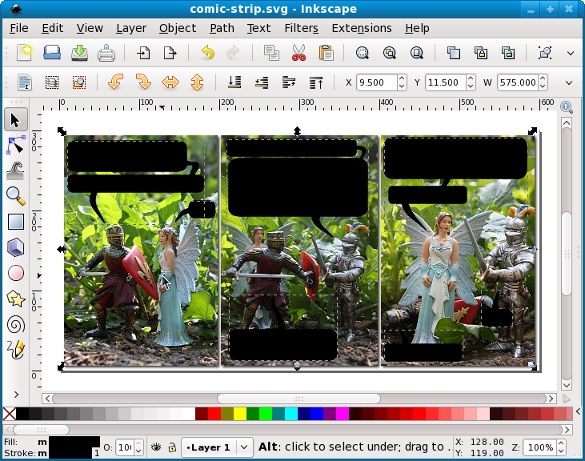
Then add a rectangle (with white fill and black stroke) over a text piece
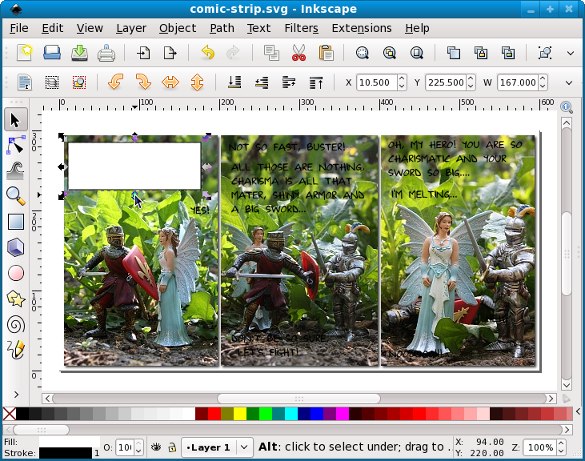
Lower the rectangles under the text
And adjust its corner radius. so it will look like a balloon

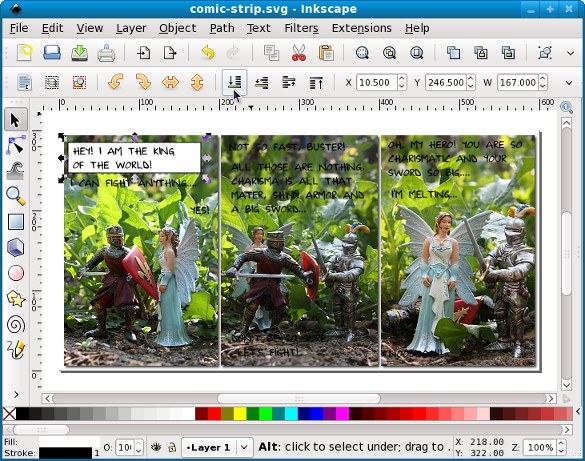
Repeat the operation for all your text pieces
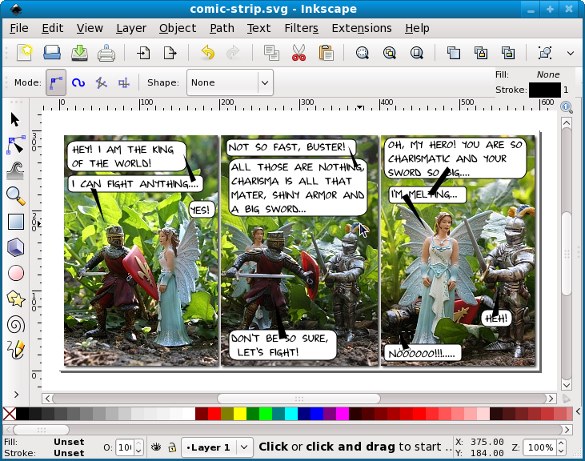
Now using Beziers draw triangles from the balloons pointing to the people who are saying the respective dialogs and rectangles where you need some balloons connected

And do it for all the speech balloons
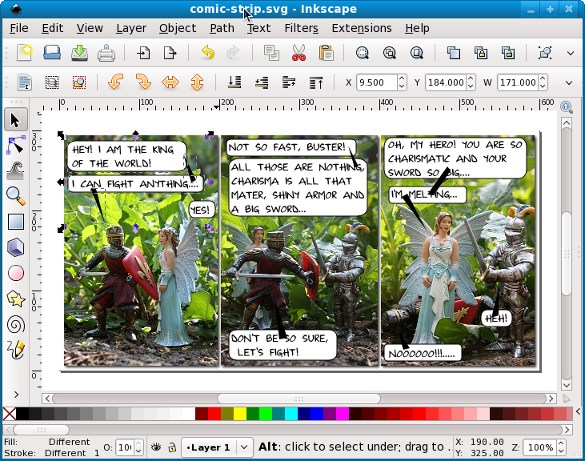
Now select the balloons that must be connected along with their connectors and perform an Union
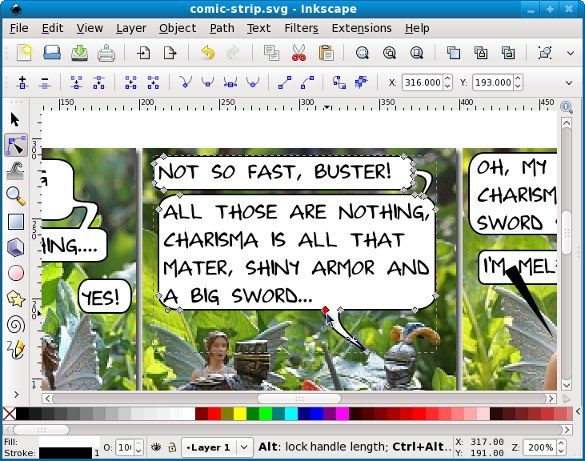
For a more "comic" look zoom in, adjust the Nodes so all the straight lines for connectors become curvy
And you are almost done:
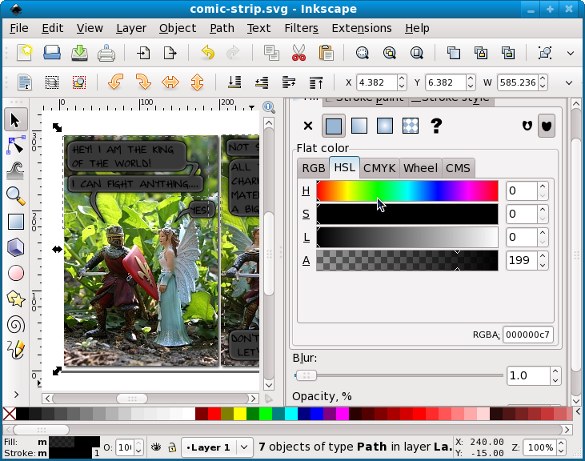
Optionally (I like this effect), you can add a drop shadow to the speech balloons, so select all of them, duplicate and make the duplicate all black
Apply a bit of Gaussian Blur filter and reduce the opacity, so it will look like a drop shadow
Now move the duplicate 1-2 pixels down and to the right
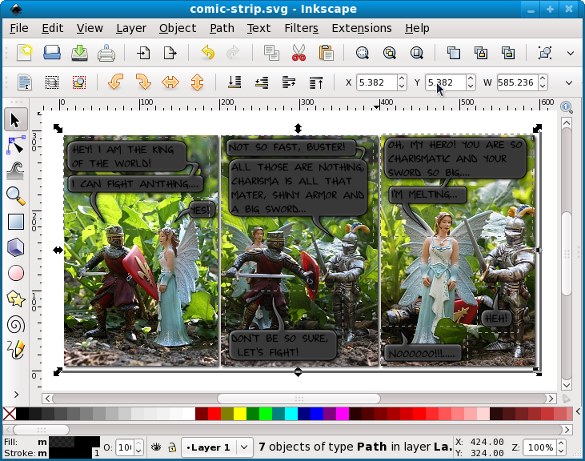
And lower the shadow under the speech balloons

And we are finally done

Final
Save your work and enjoy!
Feedback
You can leave feedback, complaints, praises or additional questions to my photography blog.a disclaimer will appear here soon

