Box of Eyes
After people complained about the big table with eyes as being nauseating, I realized there is a problem and a different presentation should be useful. A bit of head scratching and I remembered the old trick of mapping images to a box with GIMP so I decided to write a short piece about it (you can do it with any type of images).
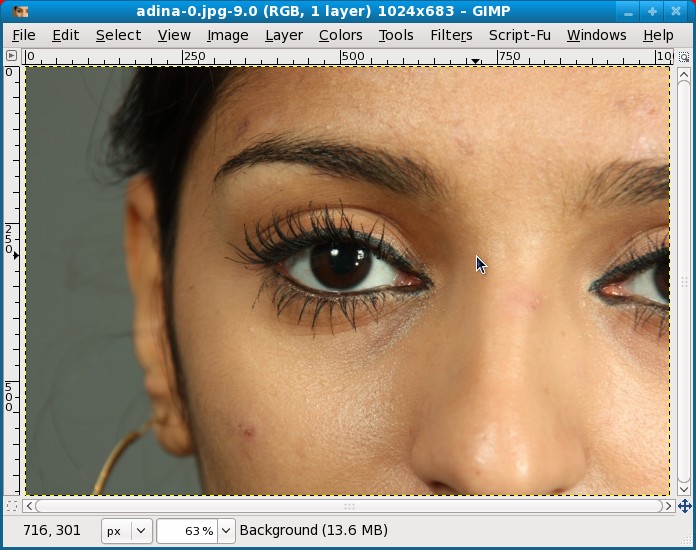
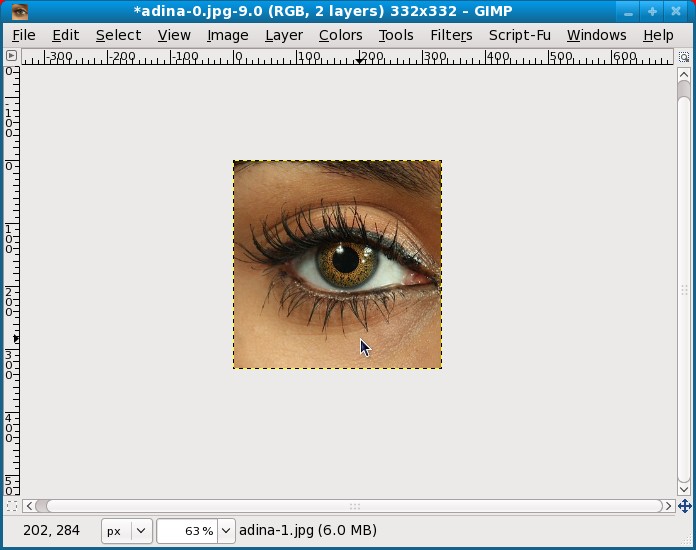
Obviously the first step is to open an image in GIMP:
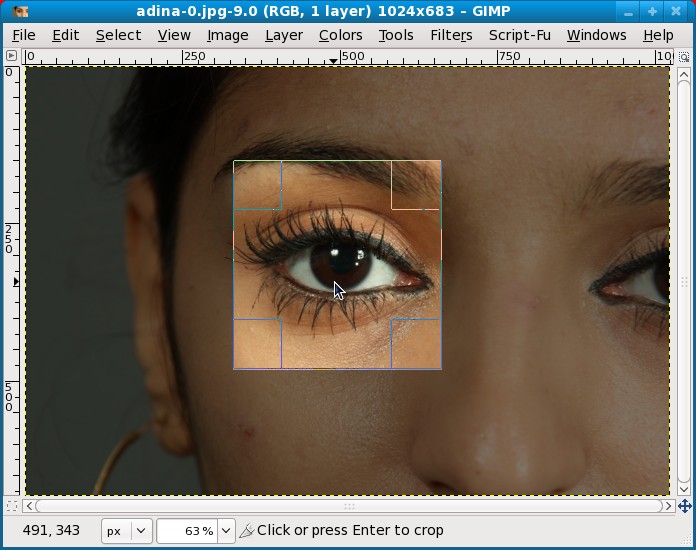
Then make a crop around the part you want to use, here I was interested in a cube with eye images on all its sides, so my crop was a square centered on the eye:
Open the image for a second face (for me a photo with the eye in a different color) as a new layer. The easiest way it to drag and drop the new image over the editing window, but you can also use the menu (File > Open as Layers):
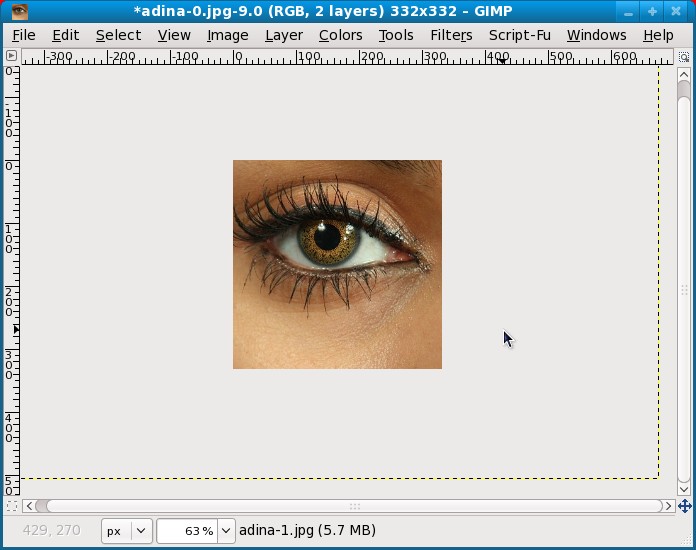
Move the layer so it is properly centered and crop it again (draw freely a big crop box around the image, it will adjust automatically):
Repeat until you have 6 layers (a cube had 6 faces):

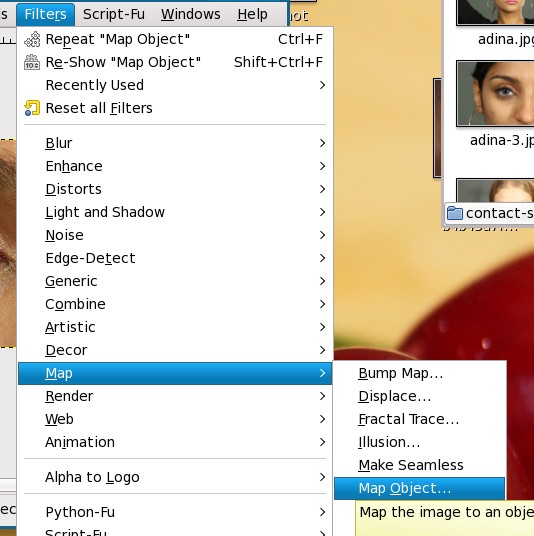
Then go to the Map Object filter (Filters > Map > Map Object):
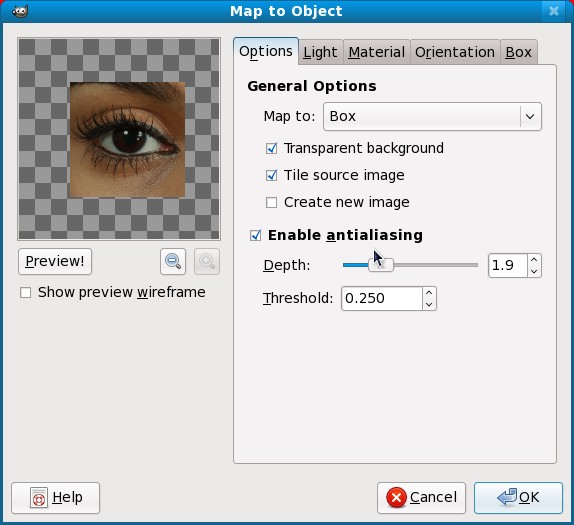
Here in the Options tab set the image to be mapped to a box. Make sure you set the background as transparent:
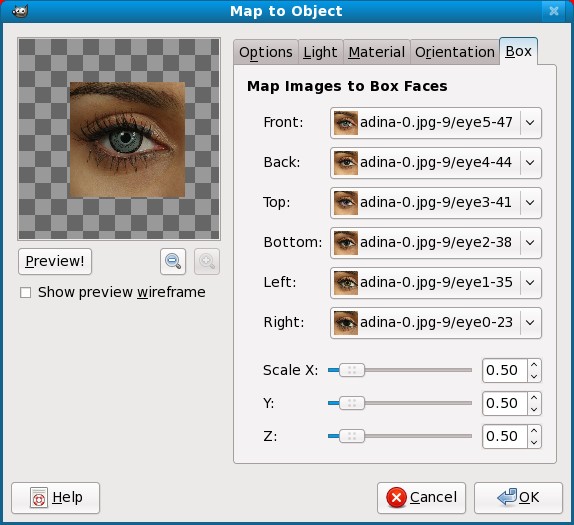
And in the Box tab select the various layers as box faces (if you have less than 6 images/layers, you can repeat some of them):
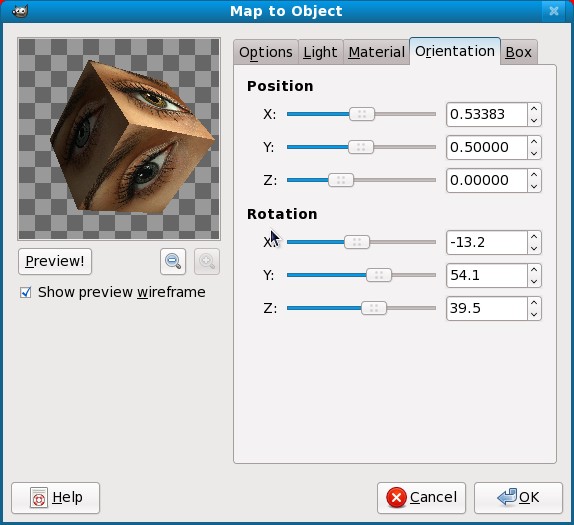
In the Orientation tab, use the Rotation sliders to have a nice view to you box (preview wireframe is useful) and Position sliders to make sure it is centered:
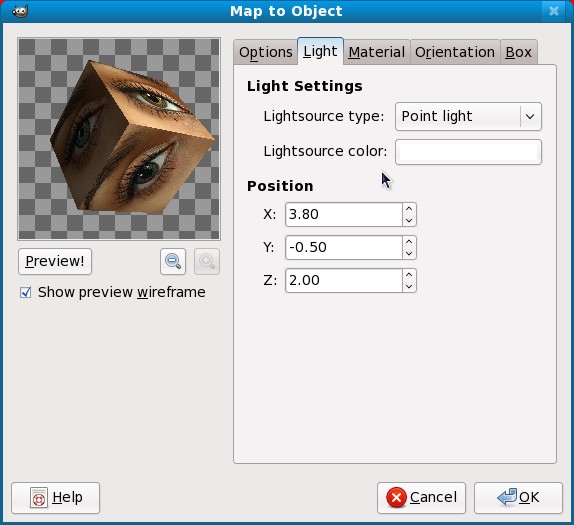
If you want, go to the Light tab and adjust the type, color and position of the light and to the Material tab to adjust the amount of reflected light:
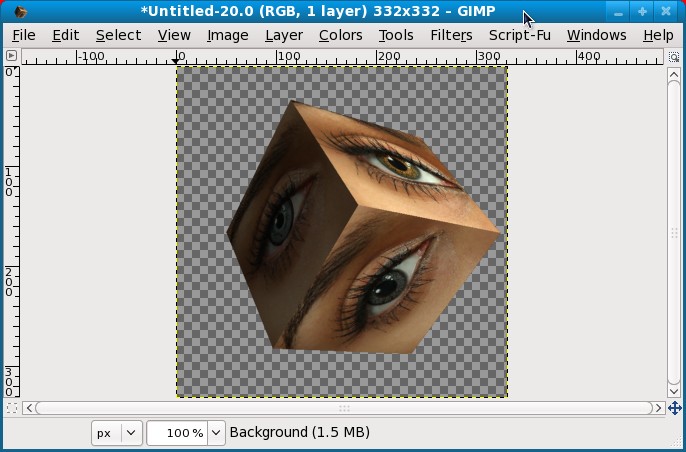
Press OK and you are done, enjoy the result: