Custom grids with GIMP
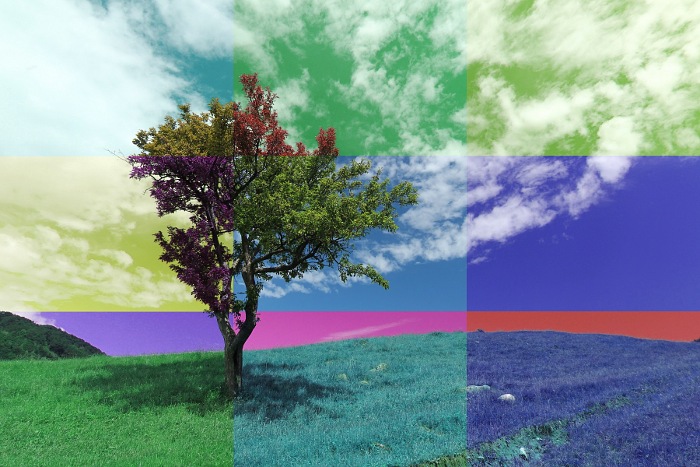
A few days ago on #fedora-art a photographer friend of mine showed a picture on some site and asked " how to make fine grid like this using various layers". The image was similar with:
My quick reply was:
- one idea would be to use some guides and then align your selection to guides
- other idea: you know the image size, so you can adjust the selection at pixel-level by coordinates
- another idea would be to generate masks automatically with some program, as images, and then import them
- yet another idea, use the slice plugin to cut the image in distinct parts
So, fire-up GIMP and open the image to want to edit:

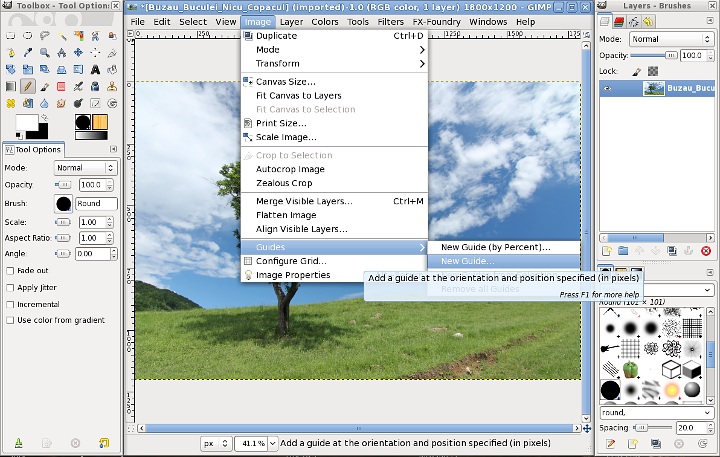
You can add guides from the menu: Image > Guides > New Guide. I know the majority of my readers are geeks and they won't settle for anything less than perfection, so they will use "by percent" only when they know the percents will align perfectly to pixels and they are perfectly capable to do the math, divide to whatever is needed (3 here) and use pixel alignment.
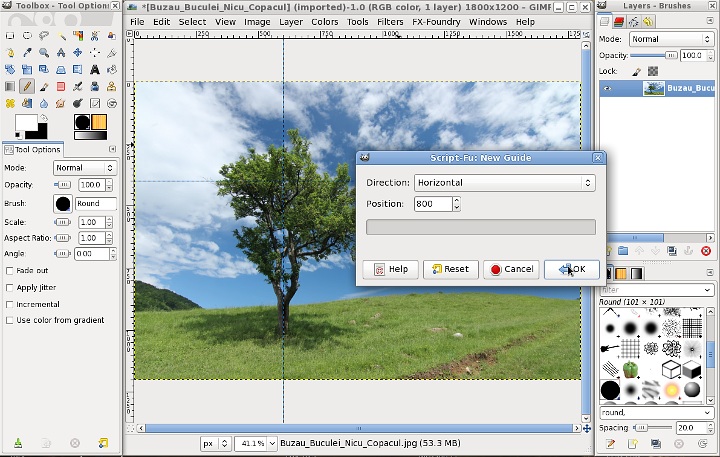
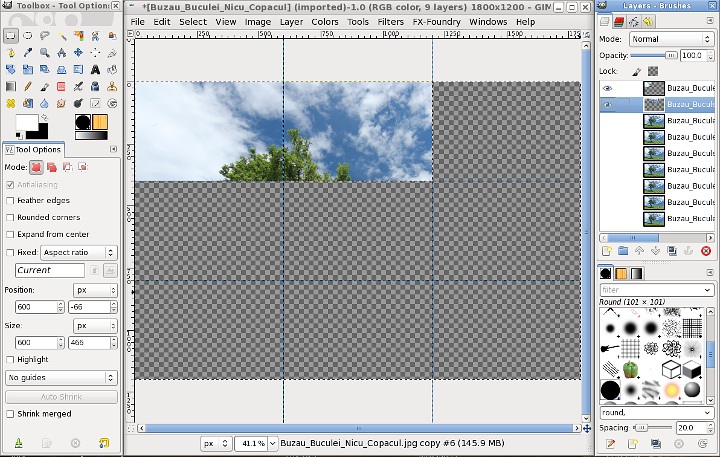
Enter the grid position manually, my image is 1800x1200 and I want it split in thirds, so I will have horizontal guides at 400 and 800 pixels and vertical guides at 600 and 1200 pixels. Add all of them.
When I feel like I am lazy and want a minimum of mouse klicks and key presses, I use the shortcut: go to the vertical or horizontal ruler and drag with the mouse from it, this will create a new guide. Watch the status bar for the guide position, you will need a precise hand, but will save some clicks.
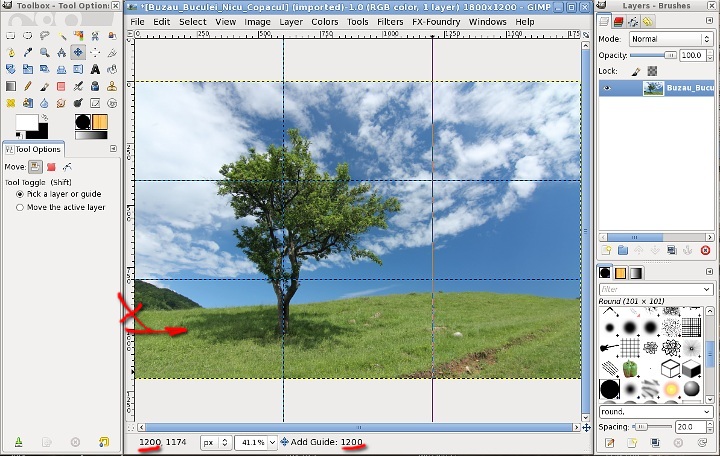
With all the guides addded, it should look like this (if you feel like it, divide the image in as many parts as you want):
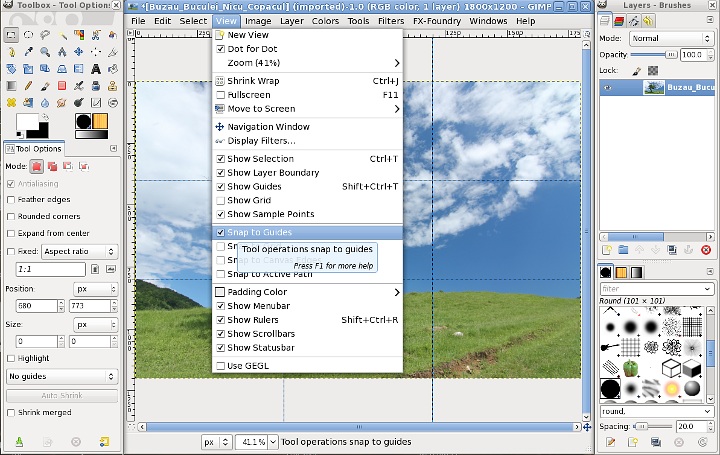
Now prepare for the next step, go to View > Snap to Guides and make sure it is checked (it is by default), will need it to align selections.
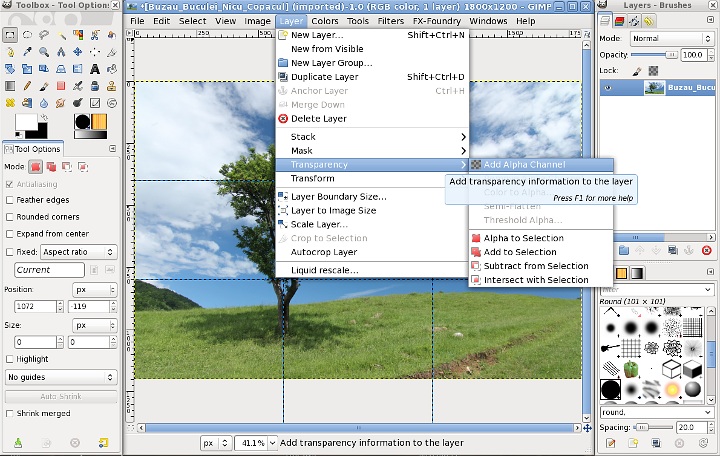
Another peparatory step is to make sure the layer has an aplha channel: Layer > Transparency > Add Alpha Channel, we will need it to be able to clear the background.
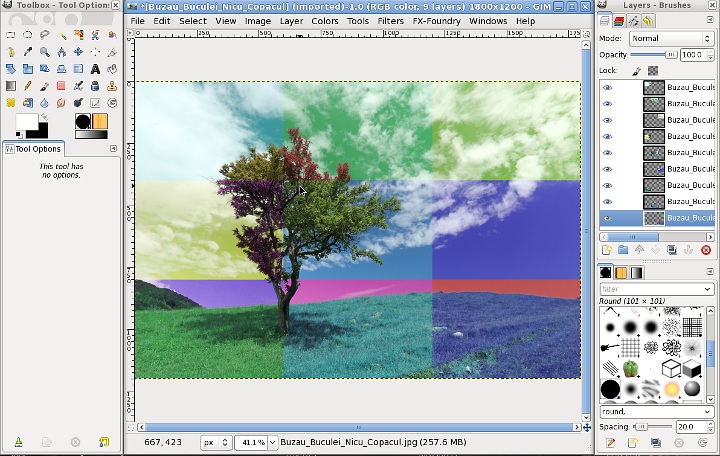
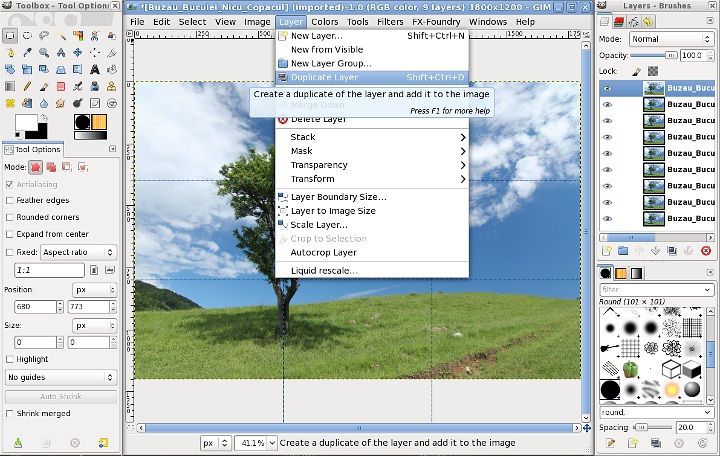
Since the image was divided in 9 areas and we want to apply a different effect to each, make sure the layer is multiplied 9 times, for this use Layer > Duplicate Layer 8 times, now we have 9 identical layers.
For the next steps I made all layers but one invisible, so is more clear what is happenind and while I move and apply the operations to other layers, I make them visible to. This is for didactic purposes, you can do the same or leave them all visible.
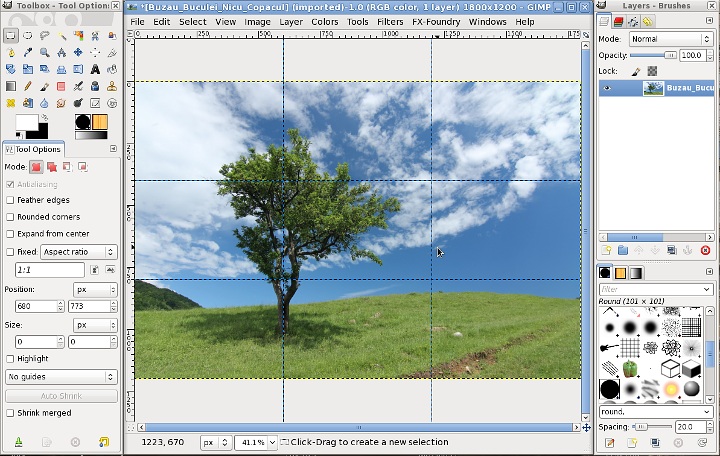
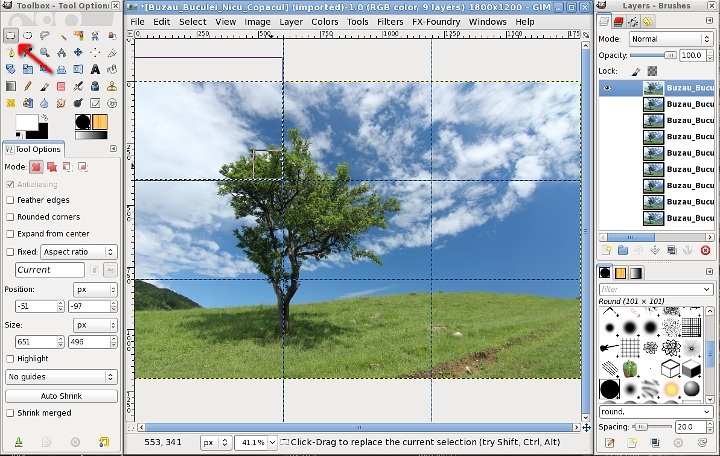
Select one layer and with the Rectangle Select Tool drag a rectangle, use the guides to constrain the selection and select one of the areas delimited by guides. The guides are "magnetic", if you mouse slowly, it will be atracted by the guide and won't move away.
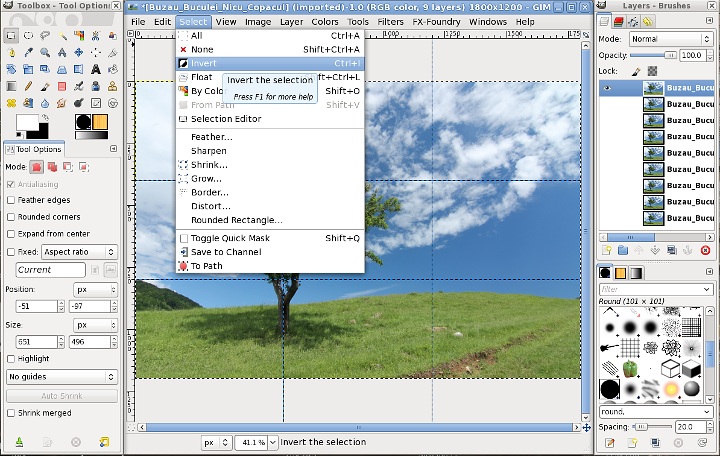
Invert the selection : Select > Invert, we want the selection to be all the rest of the image, so we can clear it in the next step.
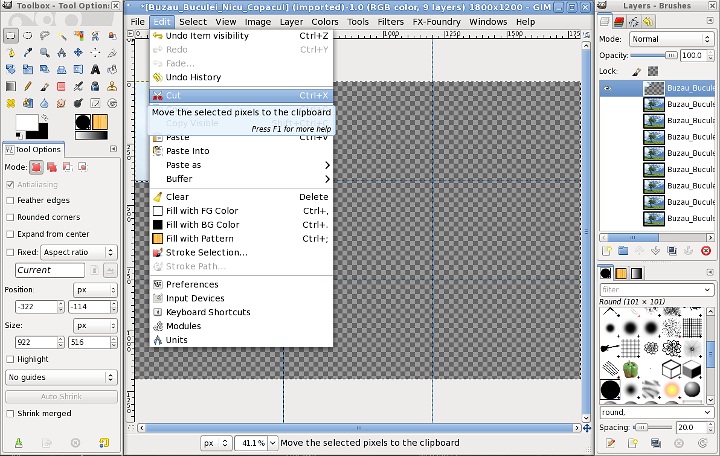
Use Edit > Cut or Edit > Clear to clear the selection, it will become transparent (this is why we added the alpha channel earlier) and show only this small piece.
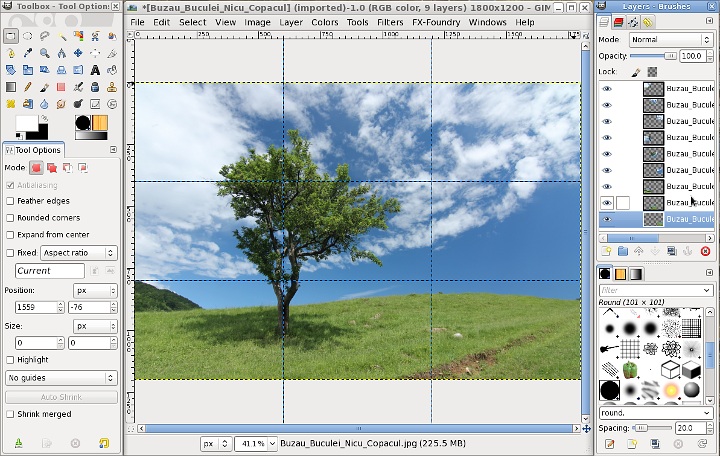
Move to the next layer (I also made it visible now), select the next area using guides, invert the selection, clear it.
Repeat the operation for all the layers, now the image will look complete again, apparently identicat with what wehad at the start.
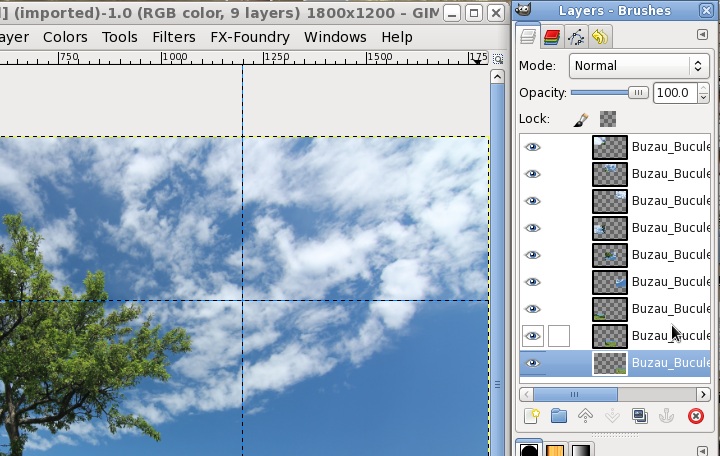
But looking closer, it is comprised by many parts, each in its own layer.
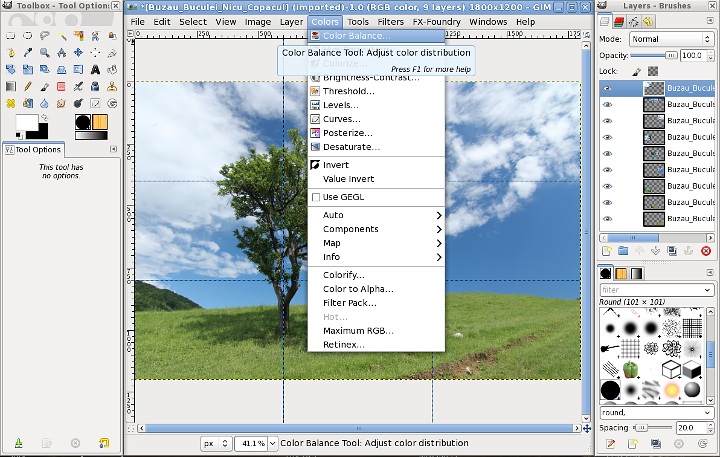
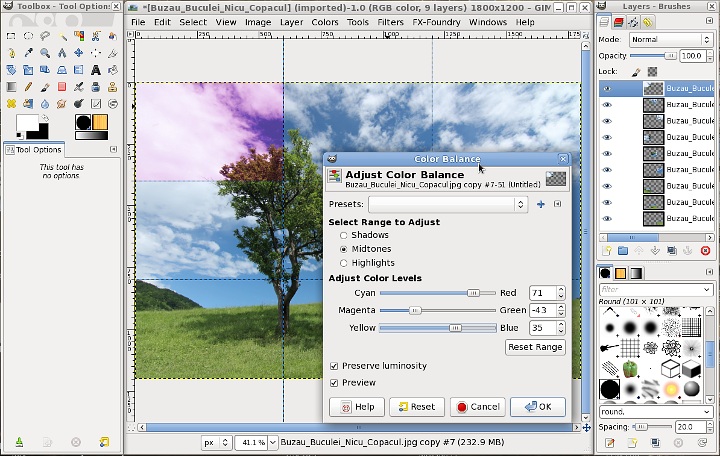
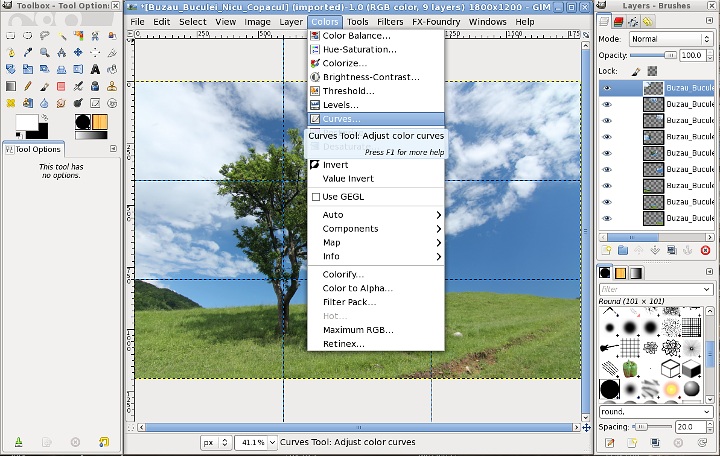
Now we will move to the editing stage, will play with colors and as in image editing you can reach the desired result in multuple ways, there are varius tools you can use, explore the Colors menu. You can use Color Balance, select one layer and use it. Drag the sliders for various colors until you like the result:
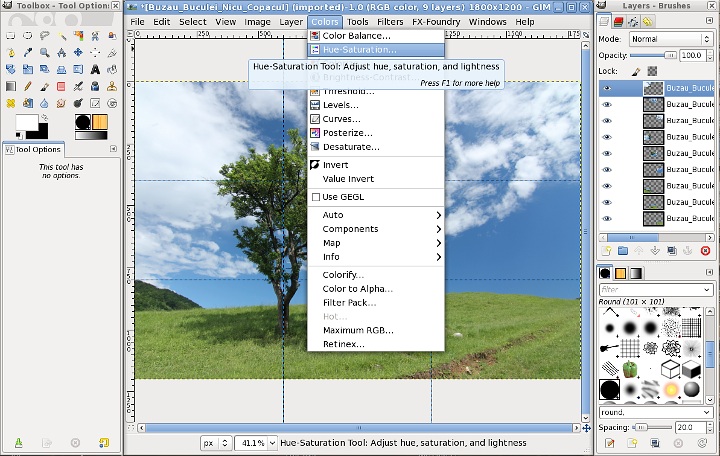
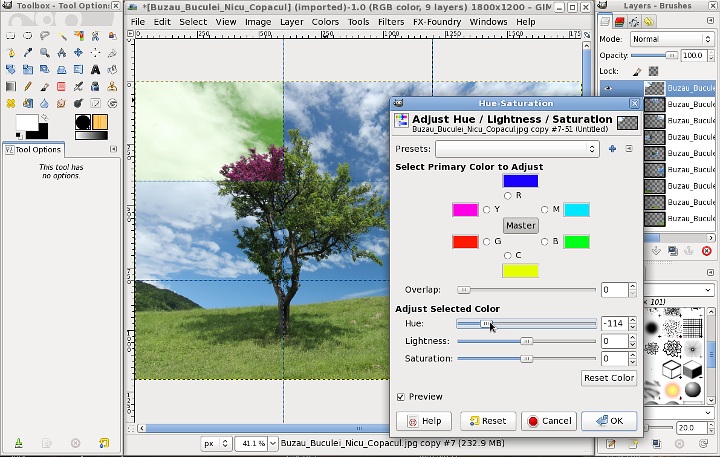
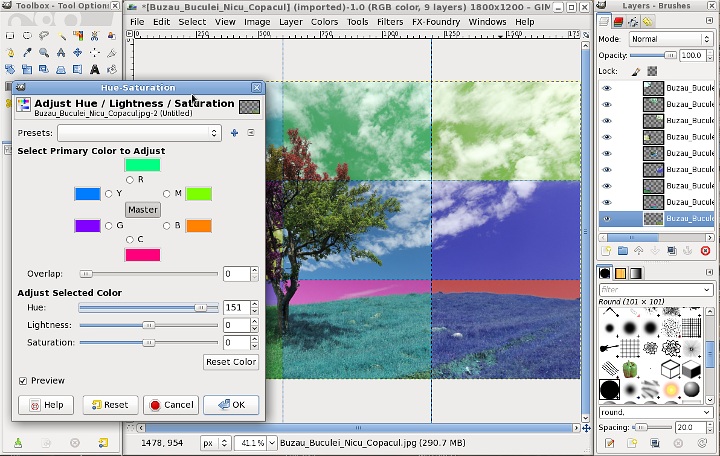
Similarily, you can use the Hue slider from the Hue-Saturation dialog:
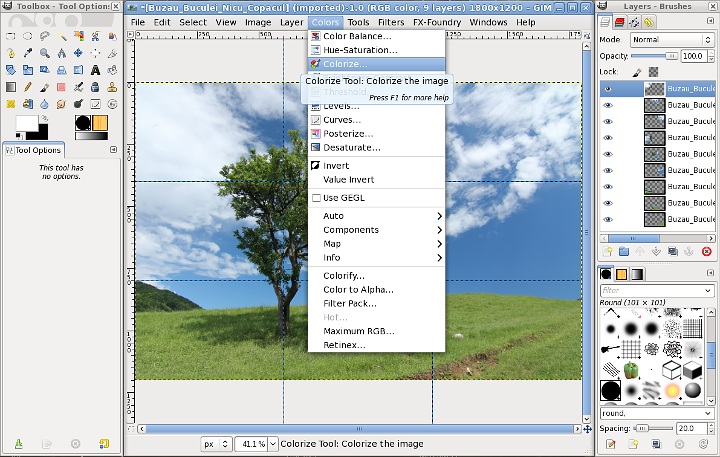
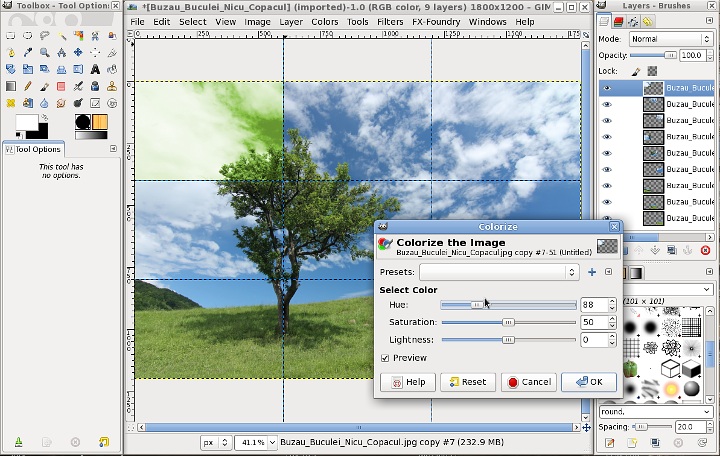
The Hue slider from Colorize is yet another way:
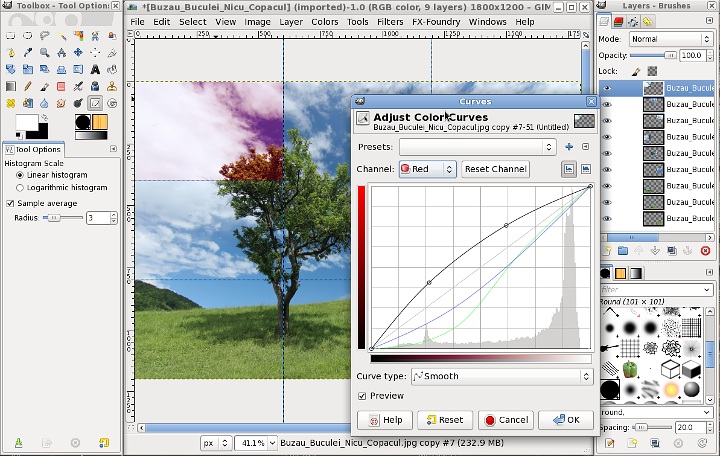
As you can use also Color Curves (illustrated) or Color Levels, but make sure to adjust all of the Red, Green and Blue channels.
There are many other ways to do it, use the one you feel more comfortable with or even a combination of them, important is to repeat, with different parameters, for each layer. Lazy as I am, I used Hue-Saturation 8 times and got done (one of the layers is left as is, unmodified, guess which)
And we are done! Time to save the image (as JPEG for web use, as XCF for later editing or in whatever format you want).

If the guides bother you now and want a clear preview, you can hide them now from the View menu.