

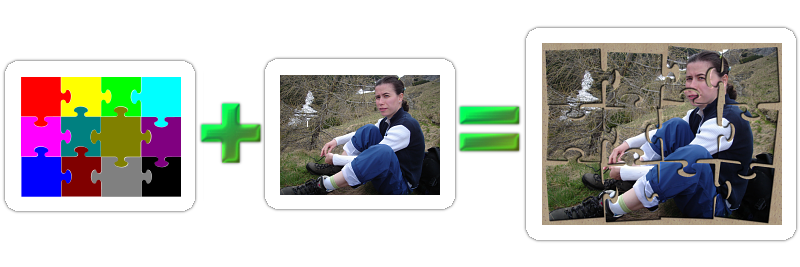
 Transform a photo in a Jigsaw Puzzle board
This is a long and boring tutorial with repetitive tasks, but they are easy and could be reused in various other occasions, so is useful to master them. Probably it would be a good idea to automate it as a script.
I used a 12 pieces (4x3) table as this is the minimum acceptable to obtain something looking like a jigsaw and to reduce the boring repetitive operation as much as possible.
This is what we will do here:
Assembling a Jigsaw Puzzle table
This is done in Inkscape. I made extented use of clipart from the jigsaw section of my clipart collection, they are freely usable, being released as Public Domain. The same images could be found at the Open Clip Art Library.- Drag and drop the jigsaw pieces from the file manager (Nautilus in my case) into Inkscape canvas one by one:

[click to enlarge] - Repeat until you have a full table with all the pieces.
My pieces have a shadow and a black outline, those are not needed so have to be removed. Also I made the margins of the border pieces linear.
We will need to select by color, so make each piece have a distinct color:

[click to enlarge]


Transform the photo in a jigsaw
- Open your photo in GIMP and add the jigsaw from the previous step as a new layer (use File - Open as Layer).
Switch to the coloured jigsaw and using the magic wand ("Select contiguous regions Z") select by color one piece:

[click to enlarge] - Switch to the photo layer, preserving the selection

[click to enlarge] - Cut the selection

[click to enlarge] - Add a new layer and paste the selction into it. Place it to the desired position.

[click to enlarge] - Repeat the operation by selecting by color, cutting, adding new layers and pasting

[click to enlarge] - You are done when you have ressebled the original photo, this time assembled by layers holding each one piece

[click to enlarge]


It may not be visible, but we have now the jigsaw puzzle almost ready, the rest is only polishing.
Alternate
You can do all this slect stuff by an alternate route: import the SVG shapes as paths, transform the path to selection, cut and copy in a new layer. I used the select by color way as I think is easier for newbies.Simulate a 3D effect
For a fake 3D look a Bump Map filter will be used.- Optional: I enlarged the canvas (Image - Canvas Size) to have enough space for work

[click to enlarge] - Select a layer holding a piece, duplicate it (Layer - Duplicate Layer) and color the copy in white. It will be used as a mask.
My way to make it white was to check "Keep Transparency", paint white with the brush tool and uncheck "Keep Transparency" when ready

[click to enlarge] - Apply a Gaussian Blur filter to this mask image (Filters - Blur - Gaussian Blur). Select a radius value as you like. When done you may make this layer invisible, we don't need to see its content.

[click to enlarge] - Switch to the original piece layer and apply a Bump Map Filter (Filters - Map - Bump Map). Select from the Bump Map drop-down the corresponding blurred white mask and adjust the Depth value, as it will be the one defining the 3D look.

[click to enlarge] - Repeat the operations (duplicate layer, make it white and blurred, apply bump map) for all the remaining pieces.

[click to enlarge] - In the end you should have a fake 3D look of the table. To make it more realistic I added a background with a wooden texture (optionall).

[click to enlarge]


We are done, or almost done, is never too late to add more polish.
Scatter, shuffle and increase the 3D look
All the following steps are optional use only what you want.- Select a piece layer, make a rectangular section and rotate it using the Rotate tool (Shift + R). Use whatever angle you like, our intention is to obtain something looking like a mess. After rotating you can also move the piece a bit.

[click to enlarge] - Repeat the operation for all the pieces

[click to enlarge]
Note: You may consider applying bump map after this step of rotatin pieces. - Again select one piece layer and add a Drop Shadow (Script-Fu - Shadow - Drop Shadow). To make a future step (shuffle) easier, I merged the two layers.

[click to enlarge] - Repeat the operation for all the pieces

[click to enlarge] - Go to the layer selector and randomly change the order of layers, as I said above, we want a mess:

[click to enlarge]


The final result
Should look like:
[click to enlarge]
Alternate
An alternate result, with white backgroud and a couple of pieces missing:
[click to enlarge]
Feedback
You can leave comments, complaints, suggestions, praises on my blog.Update: a
 Romanian translation is also available.
Many thanks to my friends at OpenArt.ro, www.xdrive.ro and Inovatika for motivating me to write this.This tutorial is free, but if you find it entertaining, pretty please (this is not a requirement, only my humble wish) send an email to dioanad at server gmail.com with thanks for motivating me to publish it and expressing your unhappiness to the same person for destroying my motivation to publish more.
Be nice, polite and do not do nasty things with the address above. Thank you.

