

 Reflecting images on surfaces with Inkscape and GIMP
Reflecting images on surfaces with Inkscape and GIMP
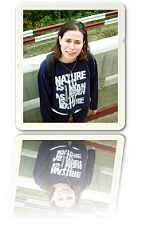
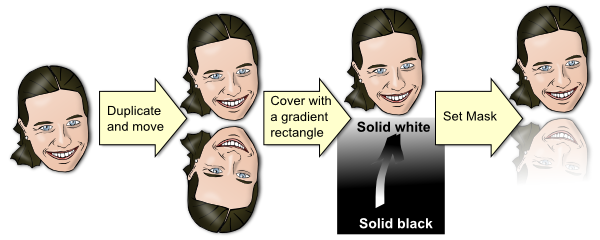
This is a trick abused often: take an image and create its reflection on a surface to obtain a kind of perspective effect. Depending of your base image, style of work and target, it can be done in vectors (Inkscape) or raster (GIMP). Of course, it can be also made with 3D graphics, but this is out of the scope of this tutorial.The graphics we will create will look like this:

Update: I was wrong, it is possible to do much better with vectors, read on:
- Take your image and make a duplicate, place the duplicate on bottom:

- Cover the duplicate with a rectangle:
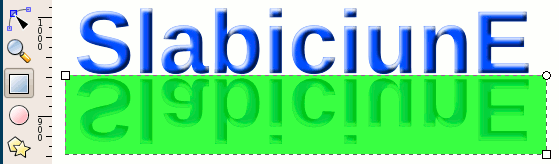
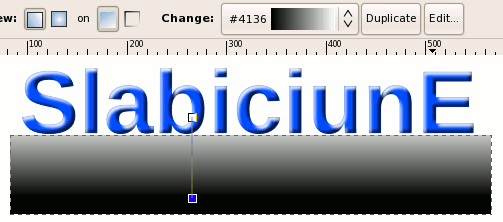
- Fill the rectangle with a vertical gradient going from solid black to solit white:
- Select both the rectangle and the object under it and apply the gradient rectangle as a mask (Object > Mask > Set):
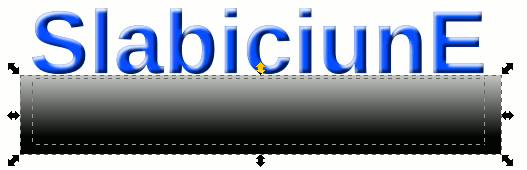
- And you get beautiful progressive transparency:

- Adjust the transparency more if needed:

This update made part of this article somewhat obsolete, but I left it included for historical reference. You can continue and read it (is still useful for some simple cases) or skip to the GIMP section.
Reflections with Inkscape (old)
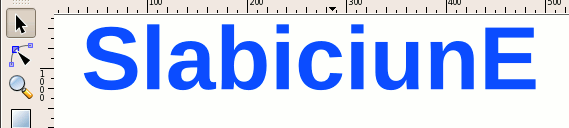
- The simplest case of a single shape in one single color, like this text, is very easy:
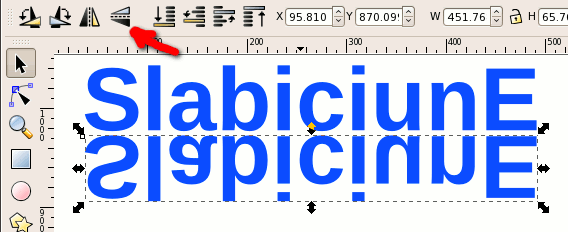
- Duplicate (Edit > Duplicate) your object, flip it vertically (Object > Flip Vertical) and move it to the bottom, this will be the reflection:
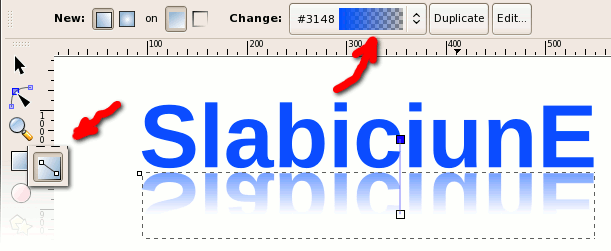
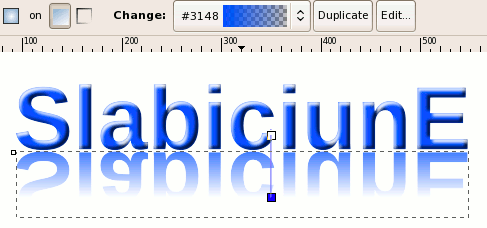
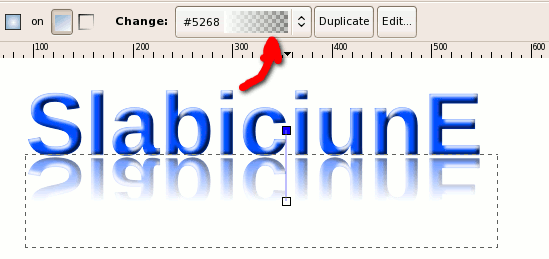
- Fill the reflection with a gradient starting from the object color with full opacity to the same color with full transparency and you are done:
- If wanted, decrease the height and/or skew it:

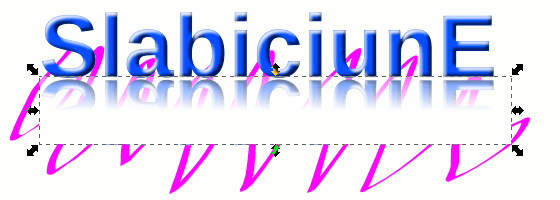
- Increase the complexity of the object (now the text have shadows and highlights) and the job become more complex:

- Applying the same gradient to the base shape (the text) is not enough, the highlights and shadows will stand out:
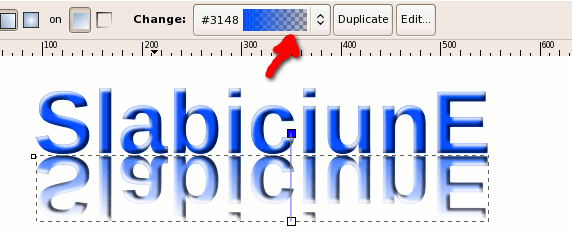
- A quick solution would be to use the full image with all details for the normal view and a simplified version of it (only the base text here) for the reflection. Depending on your target this may or may be not enough:
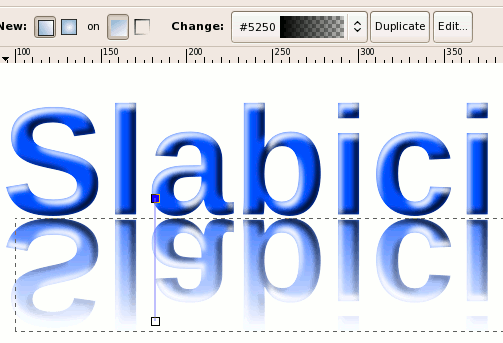
- You will have to take every detail and apply a gradient to it, I have here to apply only to the shadows and highlights, but for complex images there may be a lot of small objects to modify. Note that you have to align carefully the start and end point for every gradient, which may be too much:

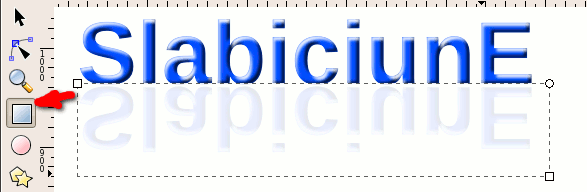
- If you will display he reflected area over a solid background, there is an easy way: just draw a rectangle over the reflection and fill it with the same color as the final background:
- Change the color of the rectangle to a gradient starting from the background color with full transparency to the same color with full opacity:
- Note again that it will work only over a solid background:

Reflections with GIMP
GIMP is very powerful here, but once you got the image in it, you lose the benefit of the vectors (which is not necessarily a bad thing, a little later we will work with a photo).- Open your image with GIMP, it may be a new image or the one from the previous step:

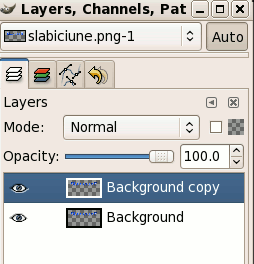
- Duplicate (Layer > Duplicate Layer) the layer holding the image:
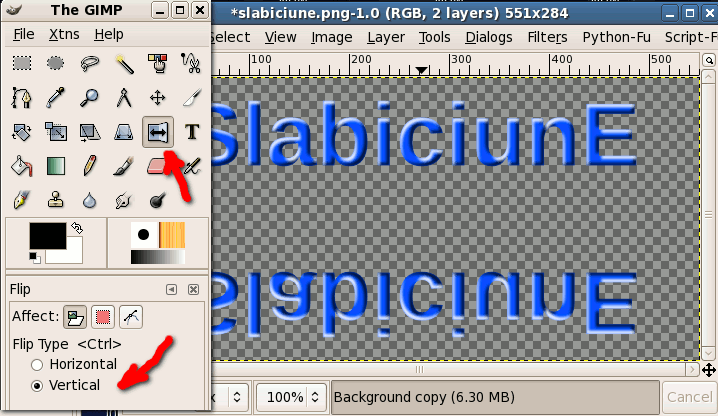
- Flip the image vertically (Image > Transform > Flip Vertically) to get the reflection:
- Select the flipped area and move it to the desired place, right under the original:

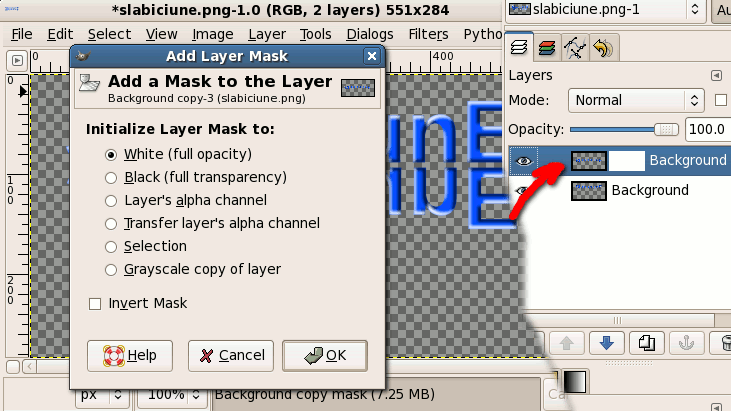
- Select the duplicated layer and adda Layer Mask (Layer > Mask > Add Layer Mask), leave it white:

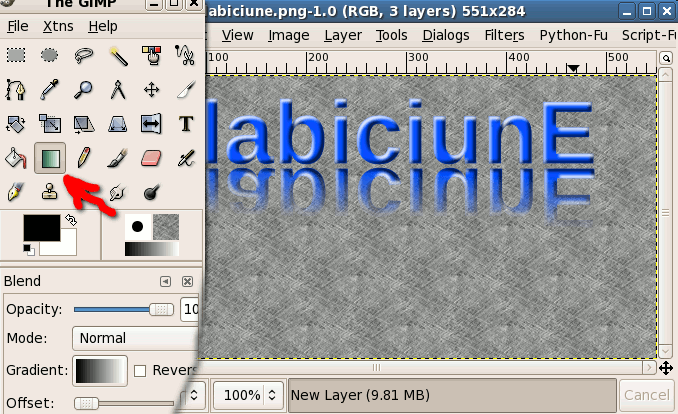
- Select the Mask (not just its layer) and use Gradient Fill to fill it with a gradient from black to white (like in this layer preview). You got the progressive transparency: transparent where the mask is black and opaque where it is white:

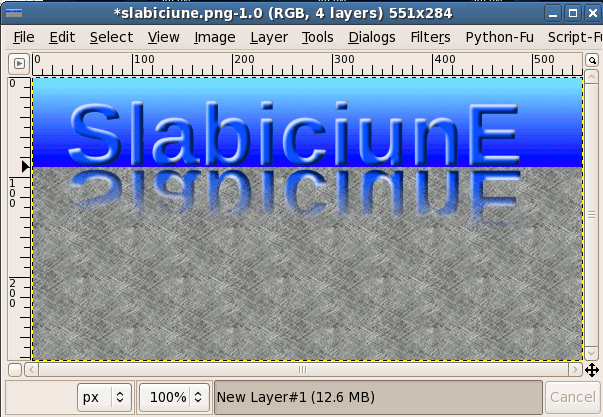
- You may add a background to have a better view of the reflection. Adjust the mask if needed:
- Leave it transparent or add whatever background you want:
- Beyond drawings, you can work on photos too with GIMP. Import a photo and put it on a transparent layer:
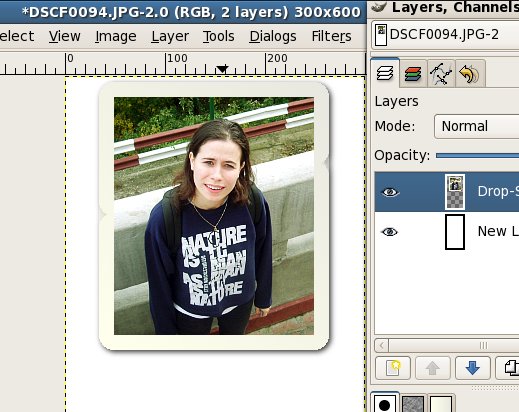
- Repeat the steps above (duplicate. flip, move, layer mask, gradient fill on mask) to get the reflection:

- There are a couple of possible effects I forgot to describe above, so I'll introduce them here.
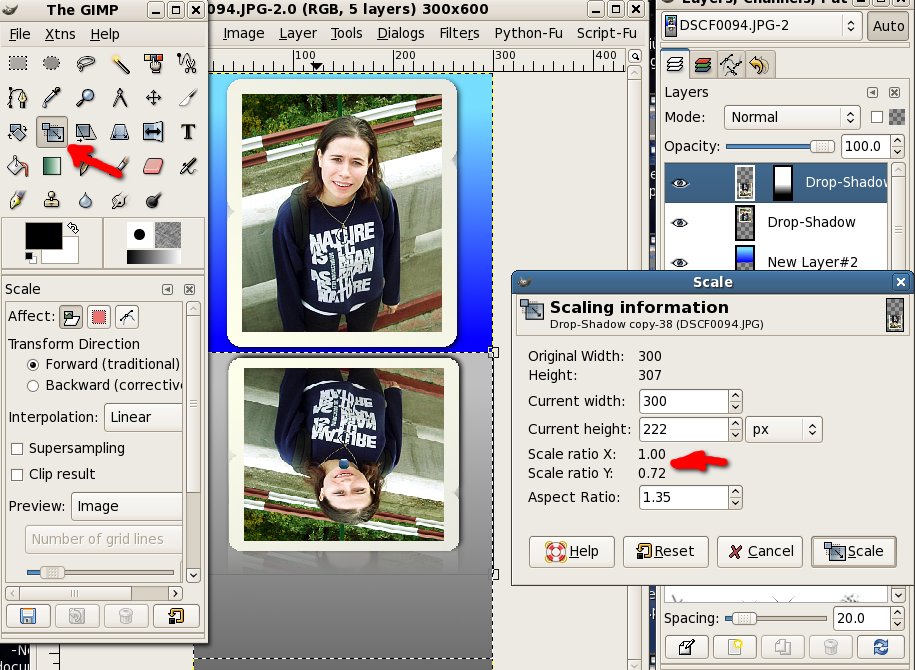
Select the reflection and scale it (Tools > Transform Tools > Scale). Be careful to scale it only vertically:
- Select the reflection and shear it (Tools > Transform Tools > Shear). Be careful to shear it only horizontally. After you apply the effect, move the reflection and put it back under the original:

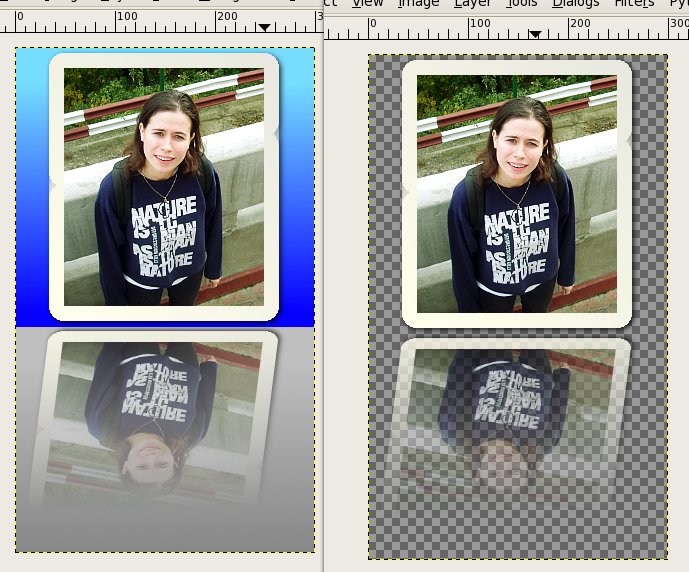
- Preview the result over a colored or transparent background and save when you are happy with the result:
Feedback
You can leave comments, complaints, suggestions, praises on my blog.Update: a
 Romanian translation is also available.
Many thanks to my friends at OpenArt.ro, www.xdrive.ro and Inovatika for motivating me to write this.a disclaimer will appear here soon

