Waterdrops with Inkscape
Introduction
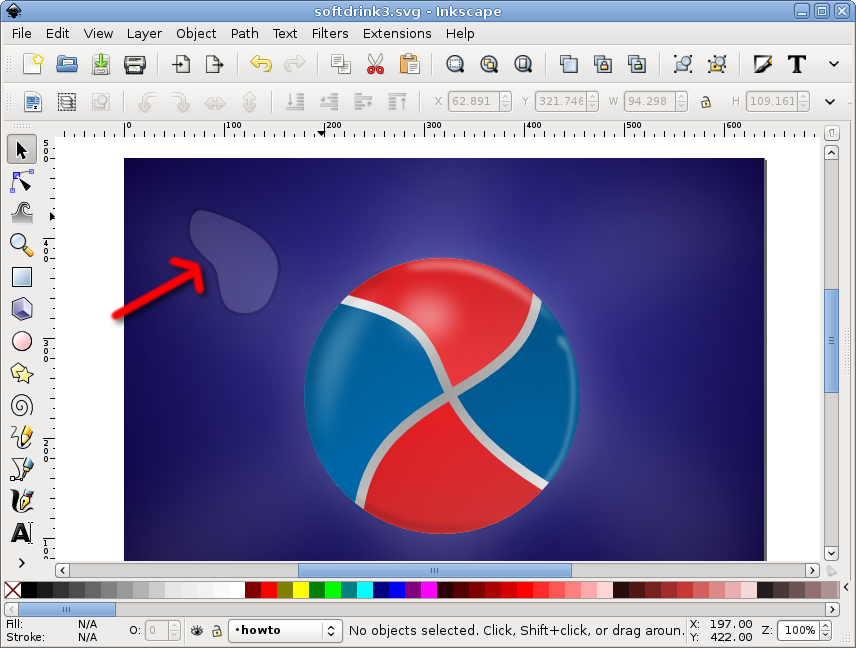
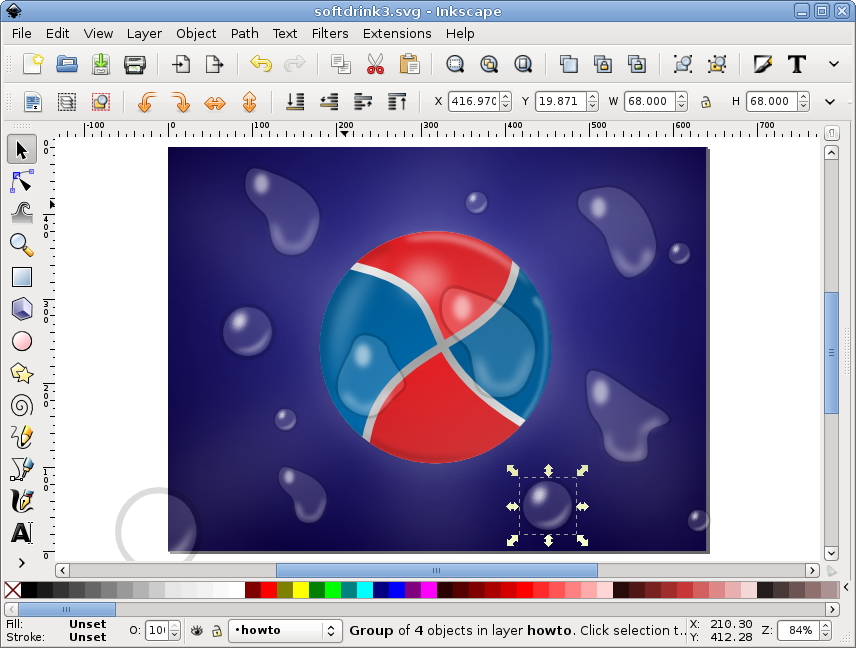
I am taking a graphic design course and one of the assignements received was to remake the logo of a well known soft drink (for the purpose of this tutorial I replaced that logo with something else, as this is not the place for unpaid advertising, especially for products I don't use nor endorse). Is a trivial task with Inkscape, so I decided to enrich it with some water drops, as at the final exam I can show my skills and get a higher grade. For the exam I can't provide a SVG, will have to import/convert it in a proprietary format (such is life...), but Inkscape is my tool of choice so I m sharing the process here.
Initially, the lazy me wanted the short way, learn how others are doing it and there is an Inkscape rain drops tutorial already made by heathenx (thanks buddy, you rock!) which I used to a pretty result. Still, I didn't love it, just liked it.

Then I played with more variations, trying to make it more realistic, but liked the result even less, probably due to the softer edges. I went back to the heathenx way, not perfect, but good enough for a mere exam (without false modesty, for which I am already overqualified).

It was all well until yesterday evening when waiting for the subway I looked at a soft drinks poster, it had a photo with water drops added on top. Looking close, I saw the drops are clearly vector drawings (put on a photo) so I understood what I have to do: simplify, simplify, simplify. Now my homework looks like this:

How To
The first step is to draw, using Beziers, a random rounded blob.
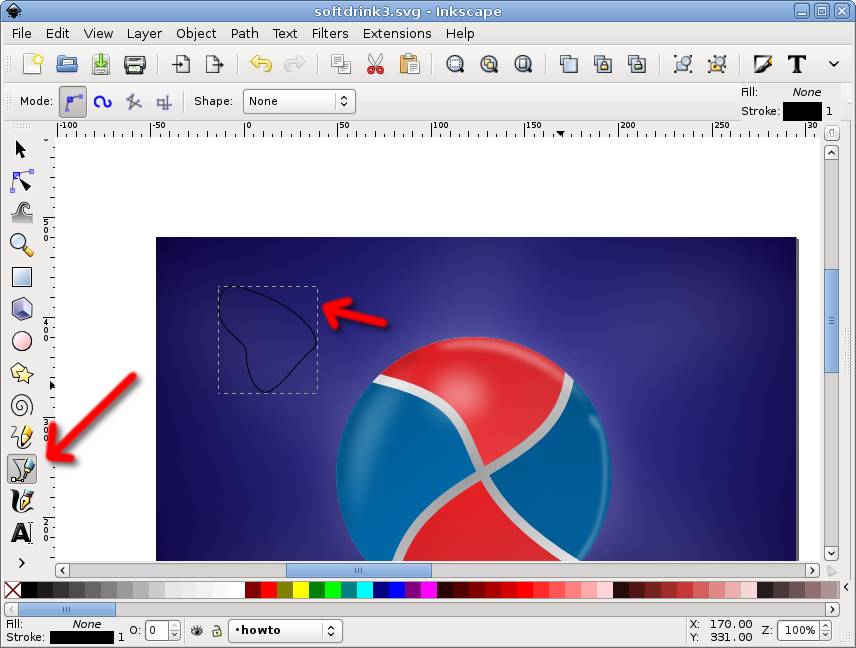
If yor hand is not trained enough for this, draw it with straight lines, we will round it later.

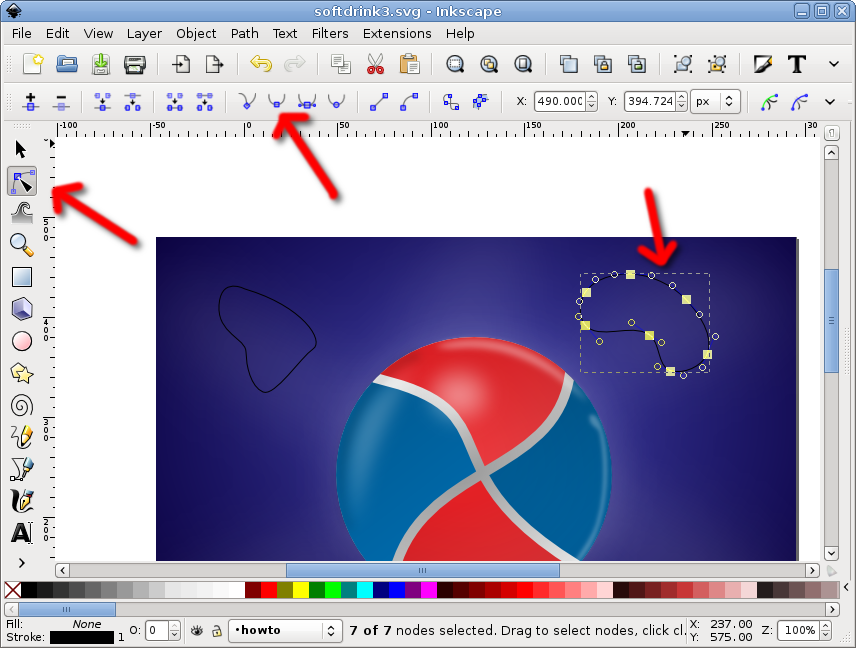
Select all nodes and make it smooth with the toolbar button, you have a rounded blob now.
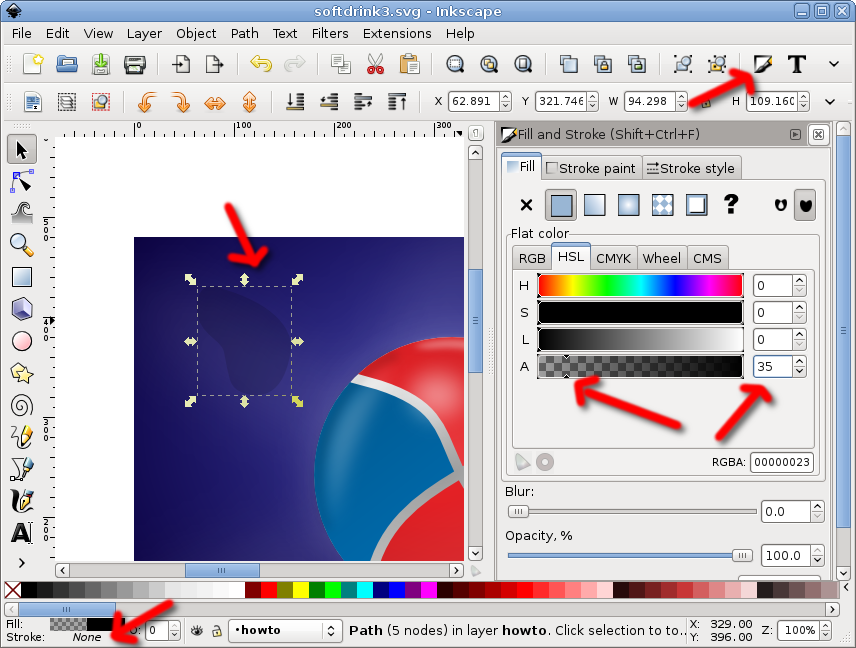
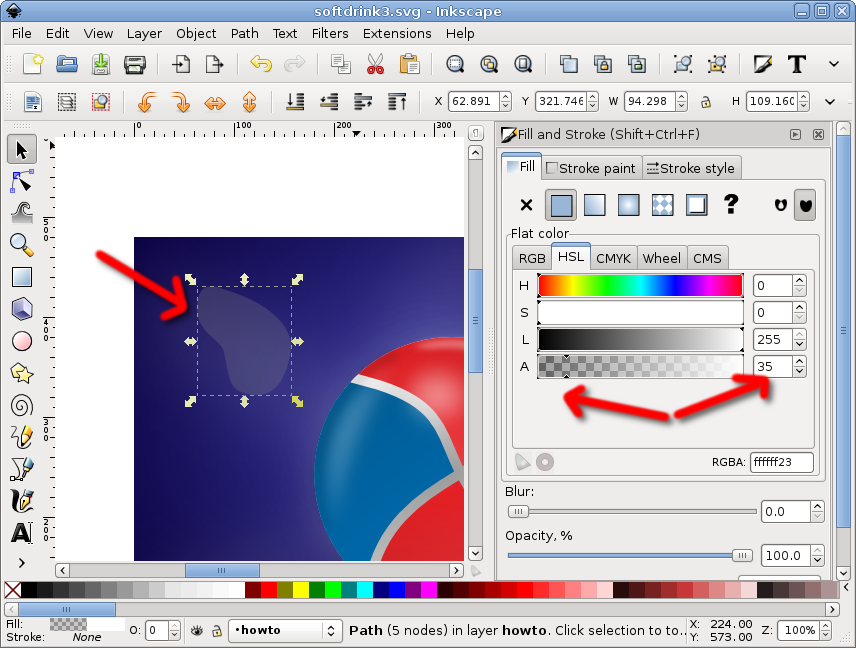
Remove the stroke, fill with black, reduce the opacity of the fill (for me a value of 35 was good here).
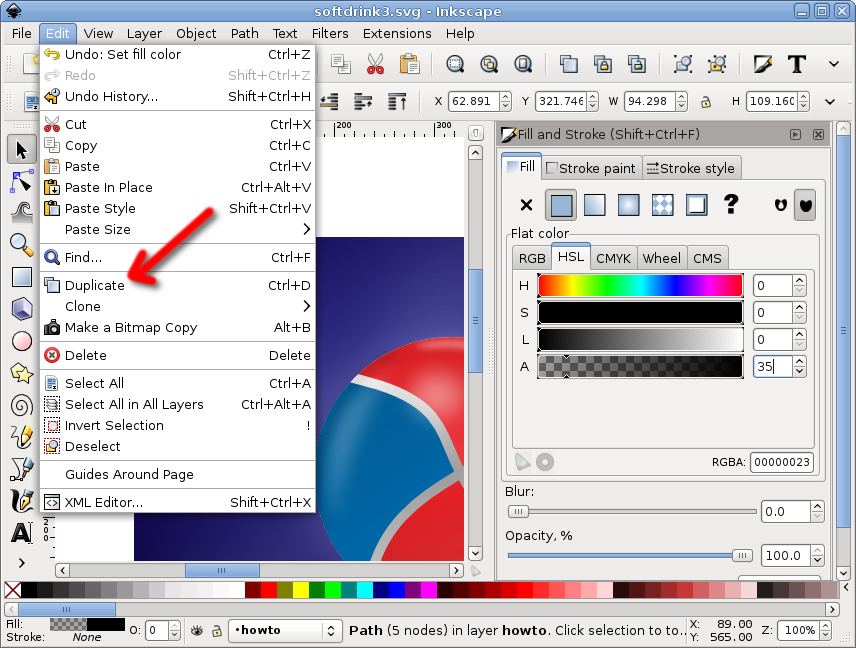
Now duplicate the blob (Edit > Duplicate):
And make the duplicate white, also with reduced opacity (for me the same value of 35 did the job)
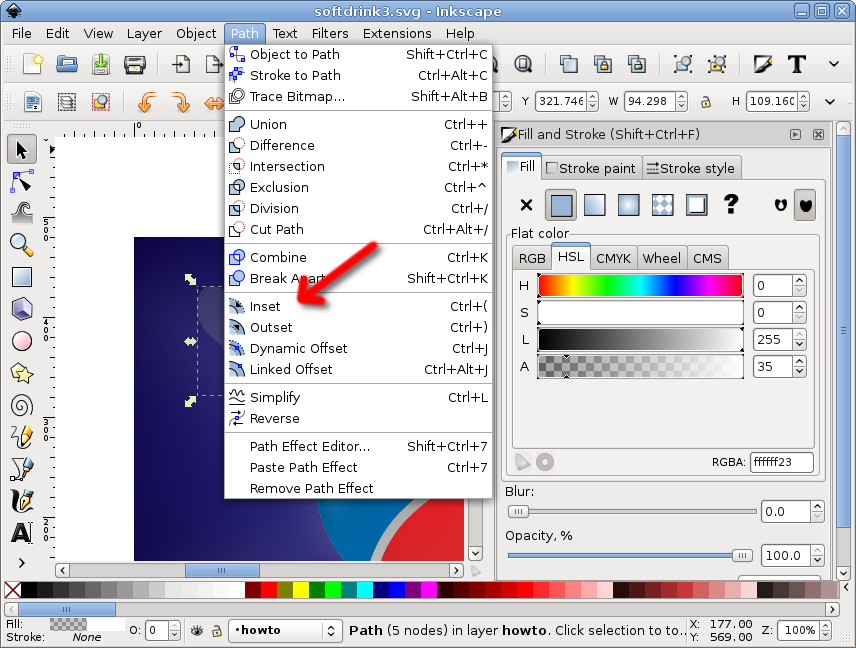
Inset (Path > Inset) 2-3 times (here I used it 3 times, but I have set in option the step size of 1 pixel for such operations, the default is IIRC 2 pixels)
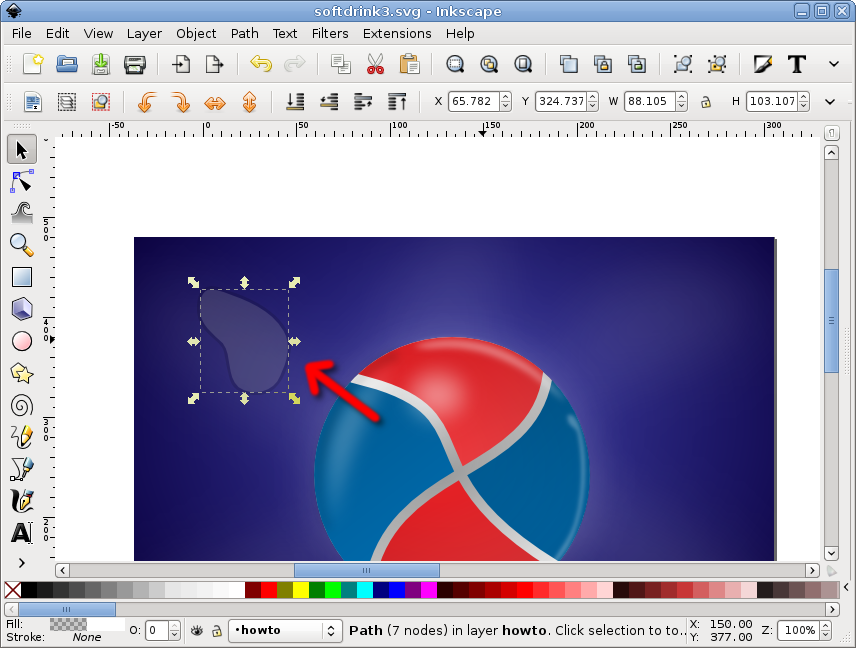
So it will look like this:
Duplicate the white blob one more time:
Now select the new duplicate and the initial black blob
And apply a difference operation (Path > Difference)

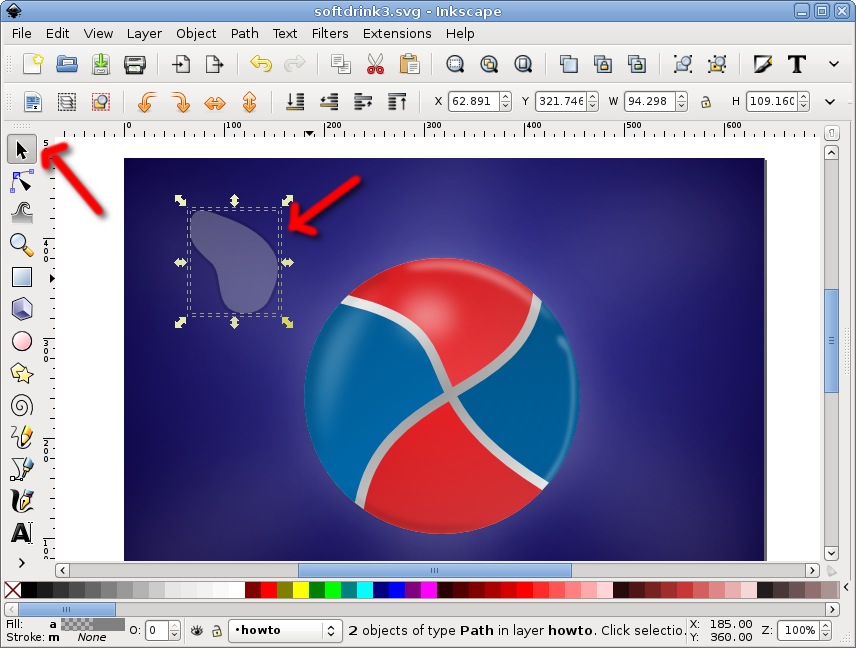
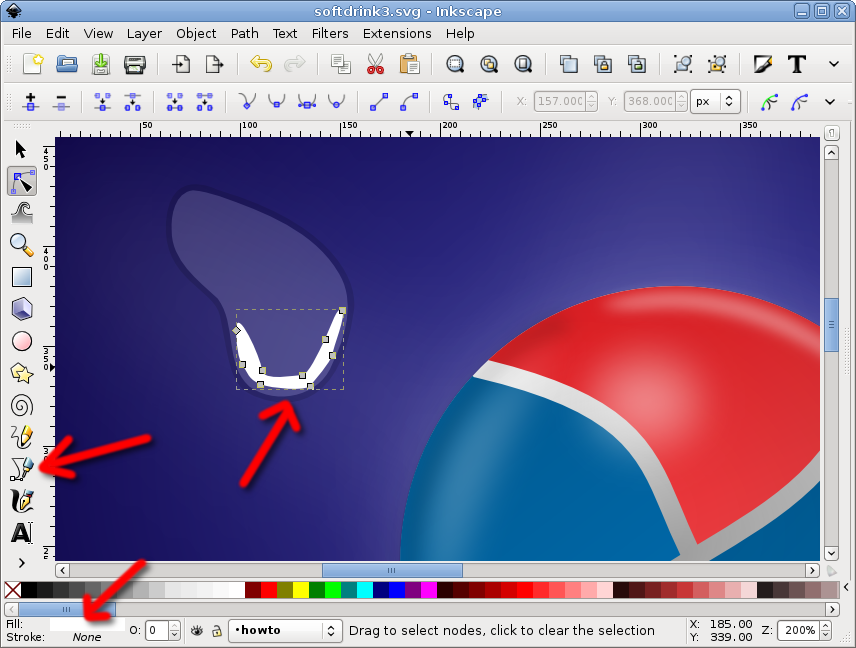
It looks similar, but now the black block is only an outline around the white one. It is our base water drop.
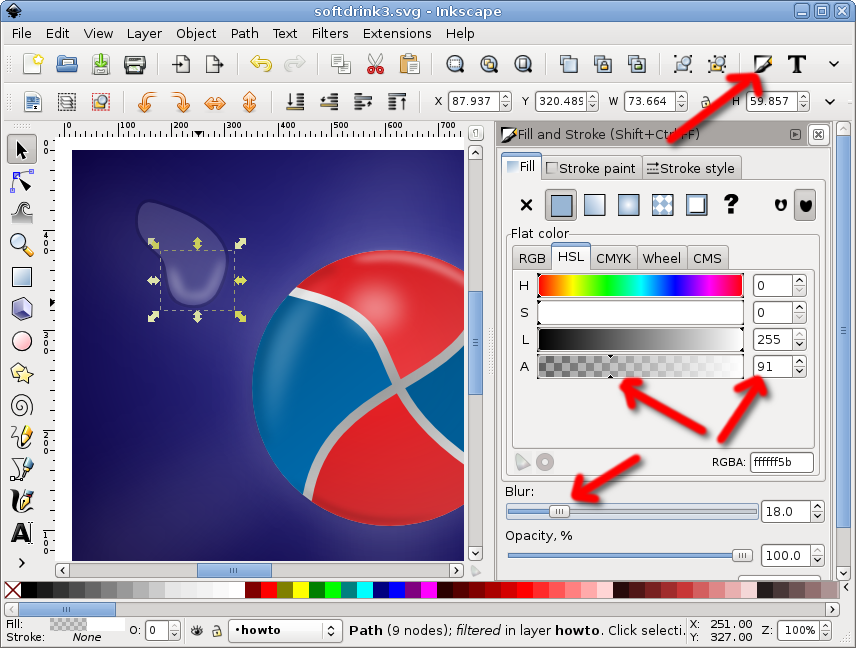
Since this step requires increased precision, I zoomed in a bit: with Beziers draw a white thin blob next to the lower edge of the water drop. Make it white.
From the Fill and Stroke dialog, ajust the opacity and add some blur, experiment with values until you are happy with the look, we hant a highlight.
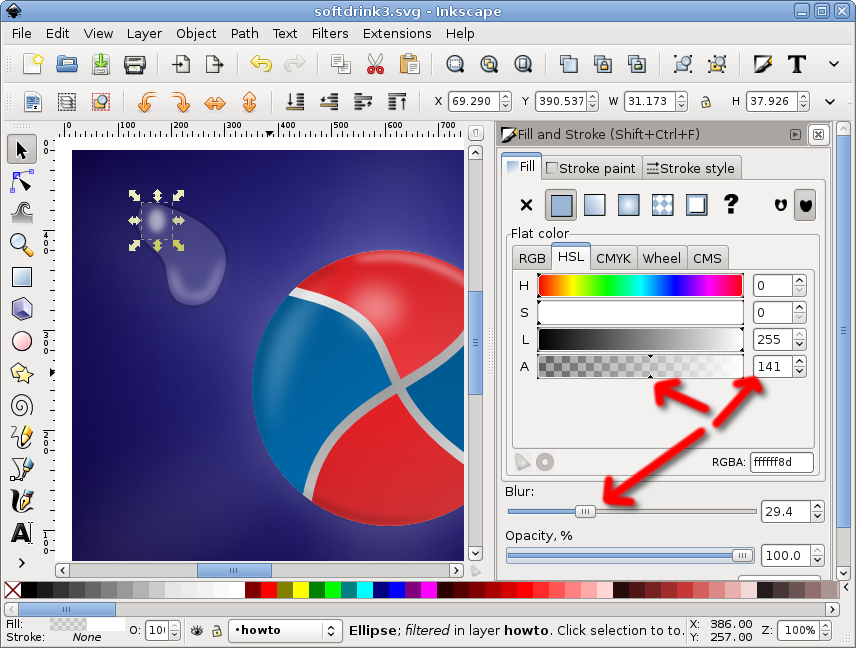
For the main light on the water drop, add a tiny white ellipse

Reduce the opacity and add a lot of blur, until it looks like a highlight.
To ease your work later, select all the elements and group them.
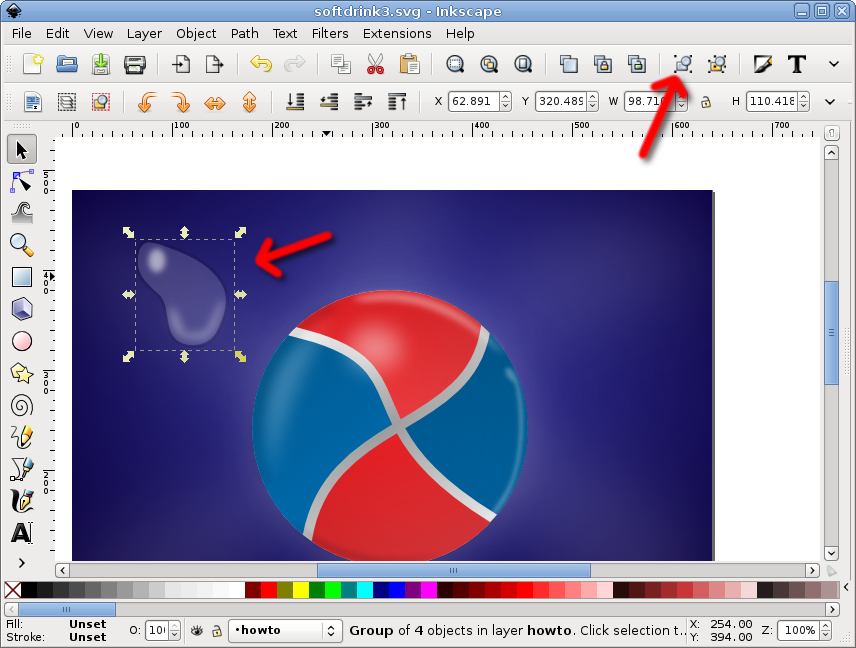
You can duplicate this water drop a few times in the picture. Eventually, change the size of the copies, so they are not identical.
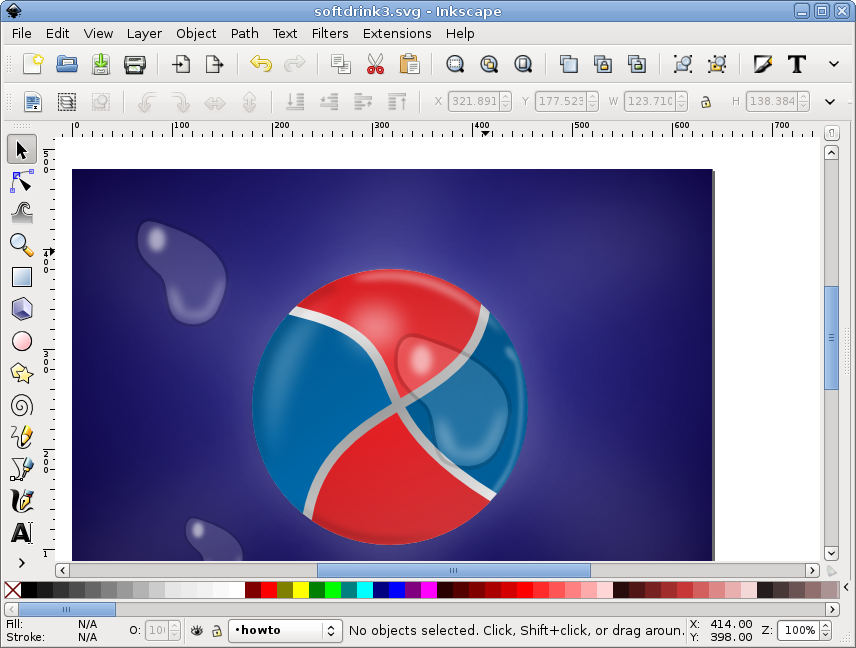
And/or repeat the proces with other random blobs, more variety is better:
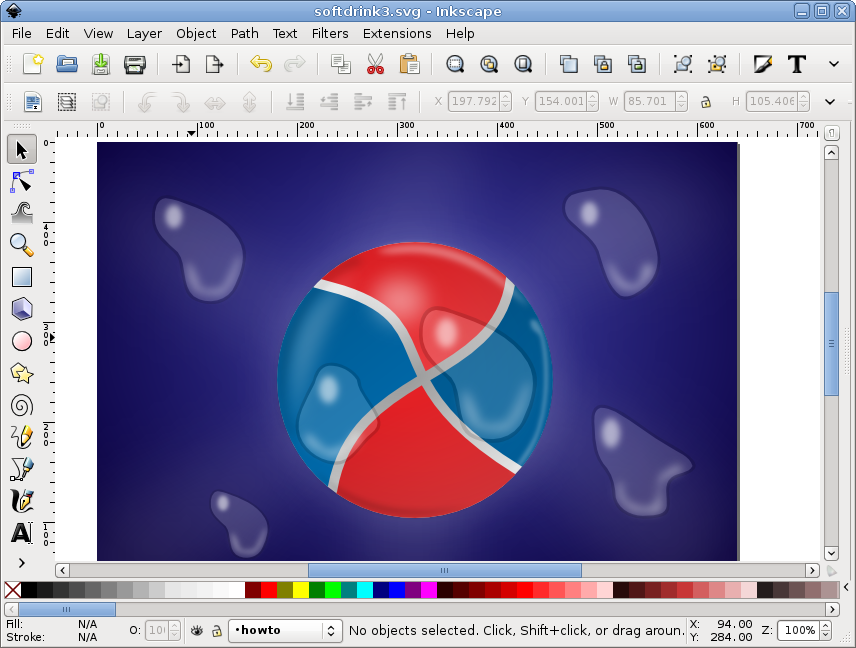
Of course, you can use the same process starting from a circle, for a round water drop:
You can make more copies of the round water drop, eventually changing its size too:
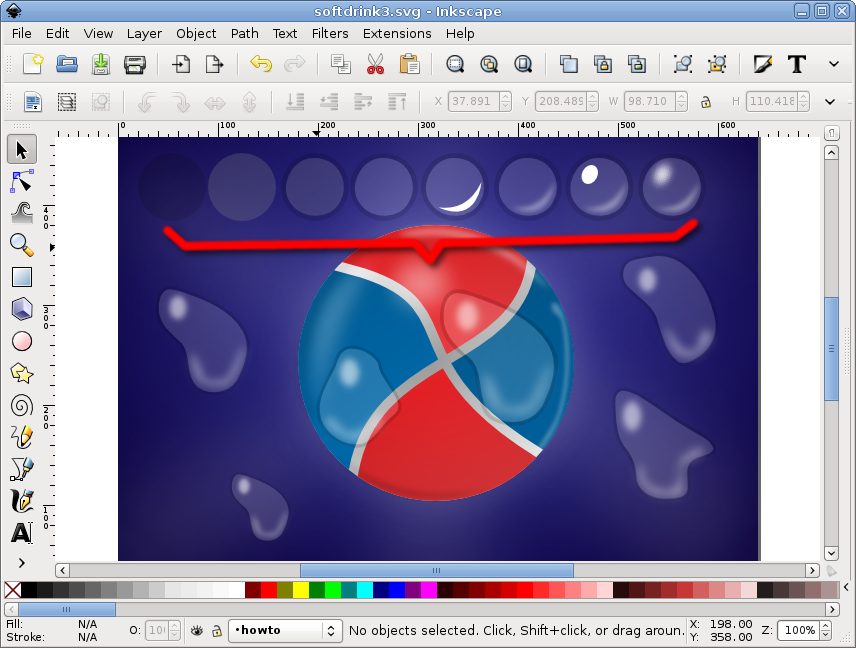
Your end result will look like this: